OpenBooth
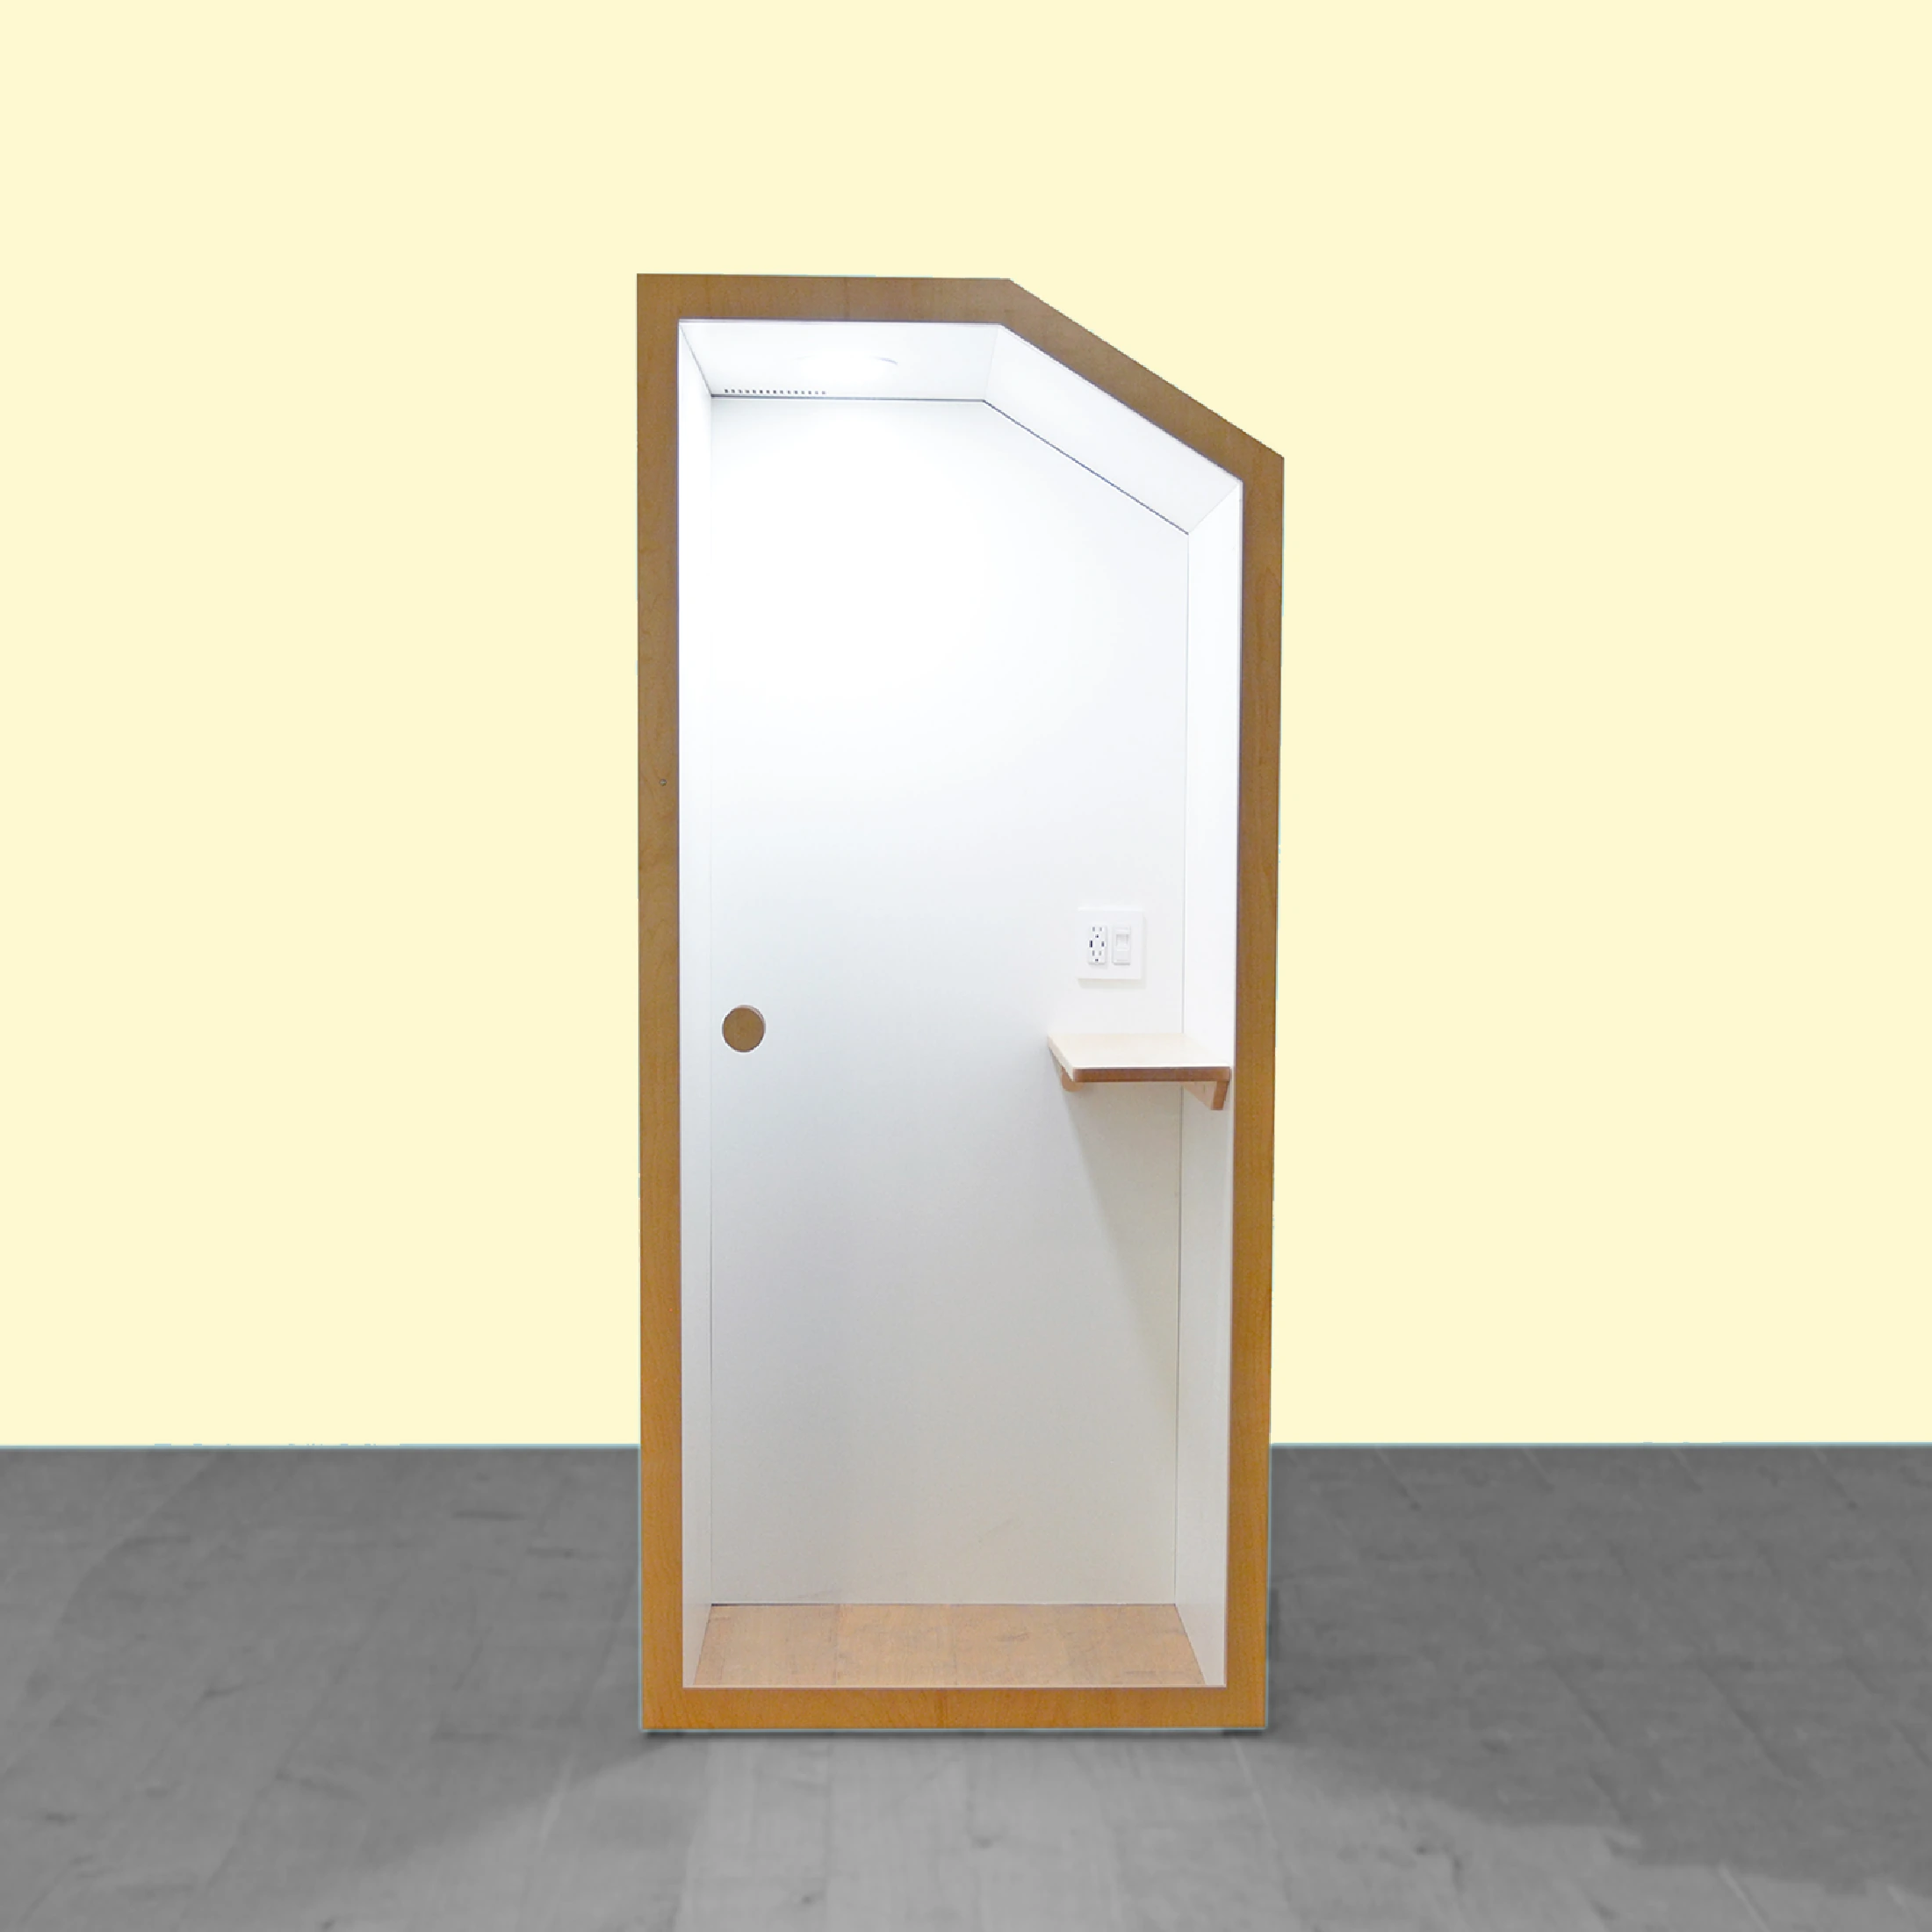
A piece of occupiable furniture — a phone booth for open offices and libraries.
The Project
OpenBooth is a phone booth. A piece of occupiable furniture that creates an aural decoupling from surrounding chatter.
The project grew out of work I started in 2016 at the Harvard Library Innovation Lab. In 2018, I founded Public Good Studio to fabricate and sell OpenBooths.
This case study walks through the process I used to define OpenBooth’s form and features from 2017 to 2019.
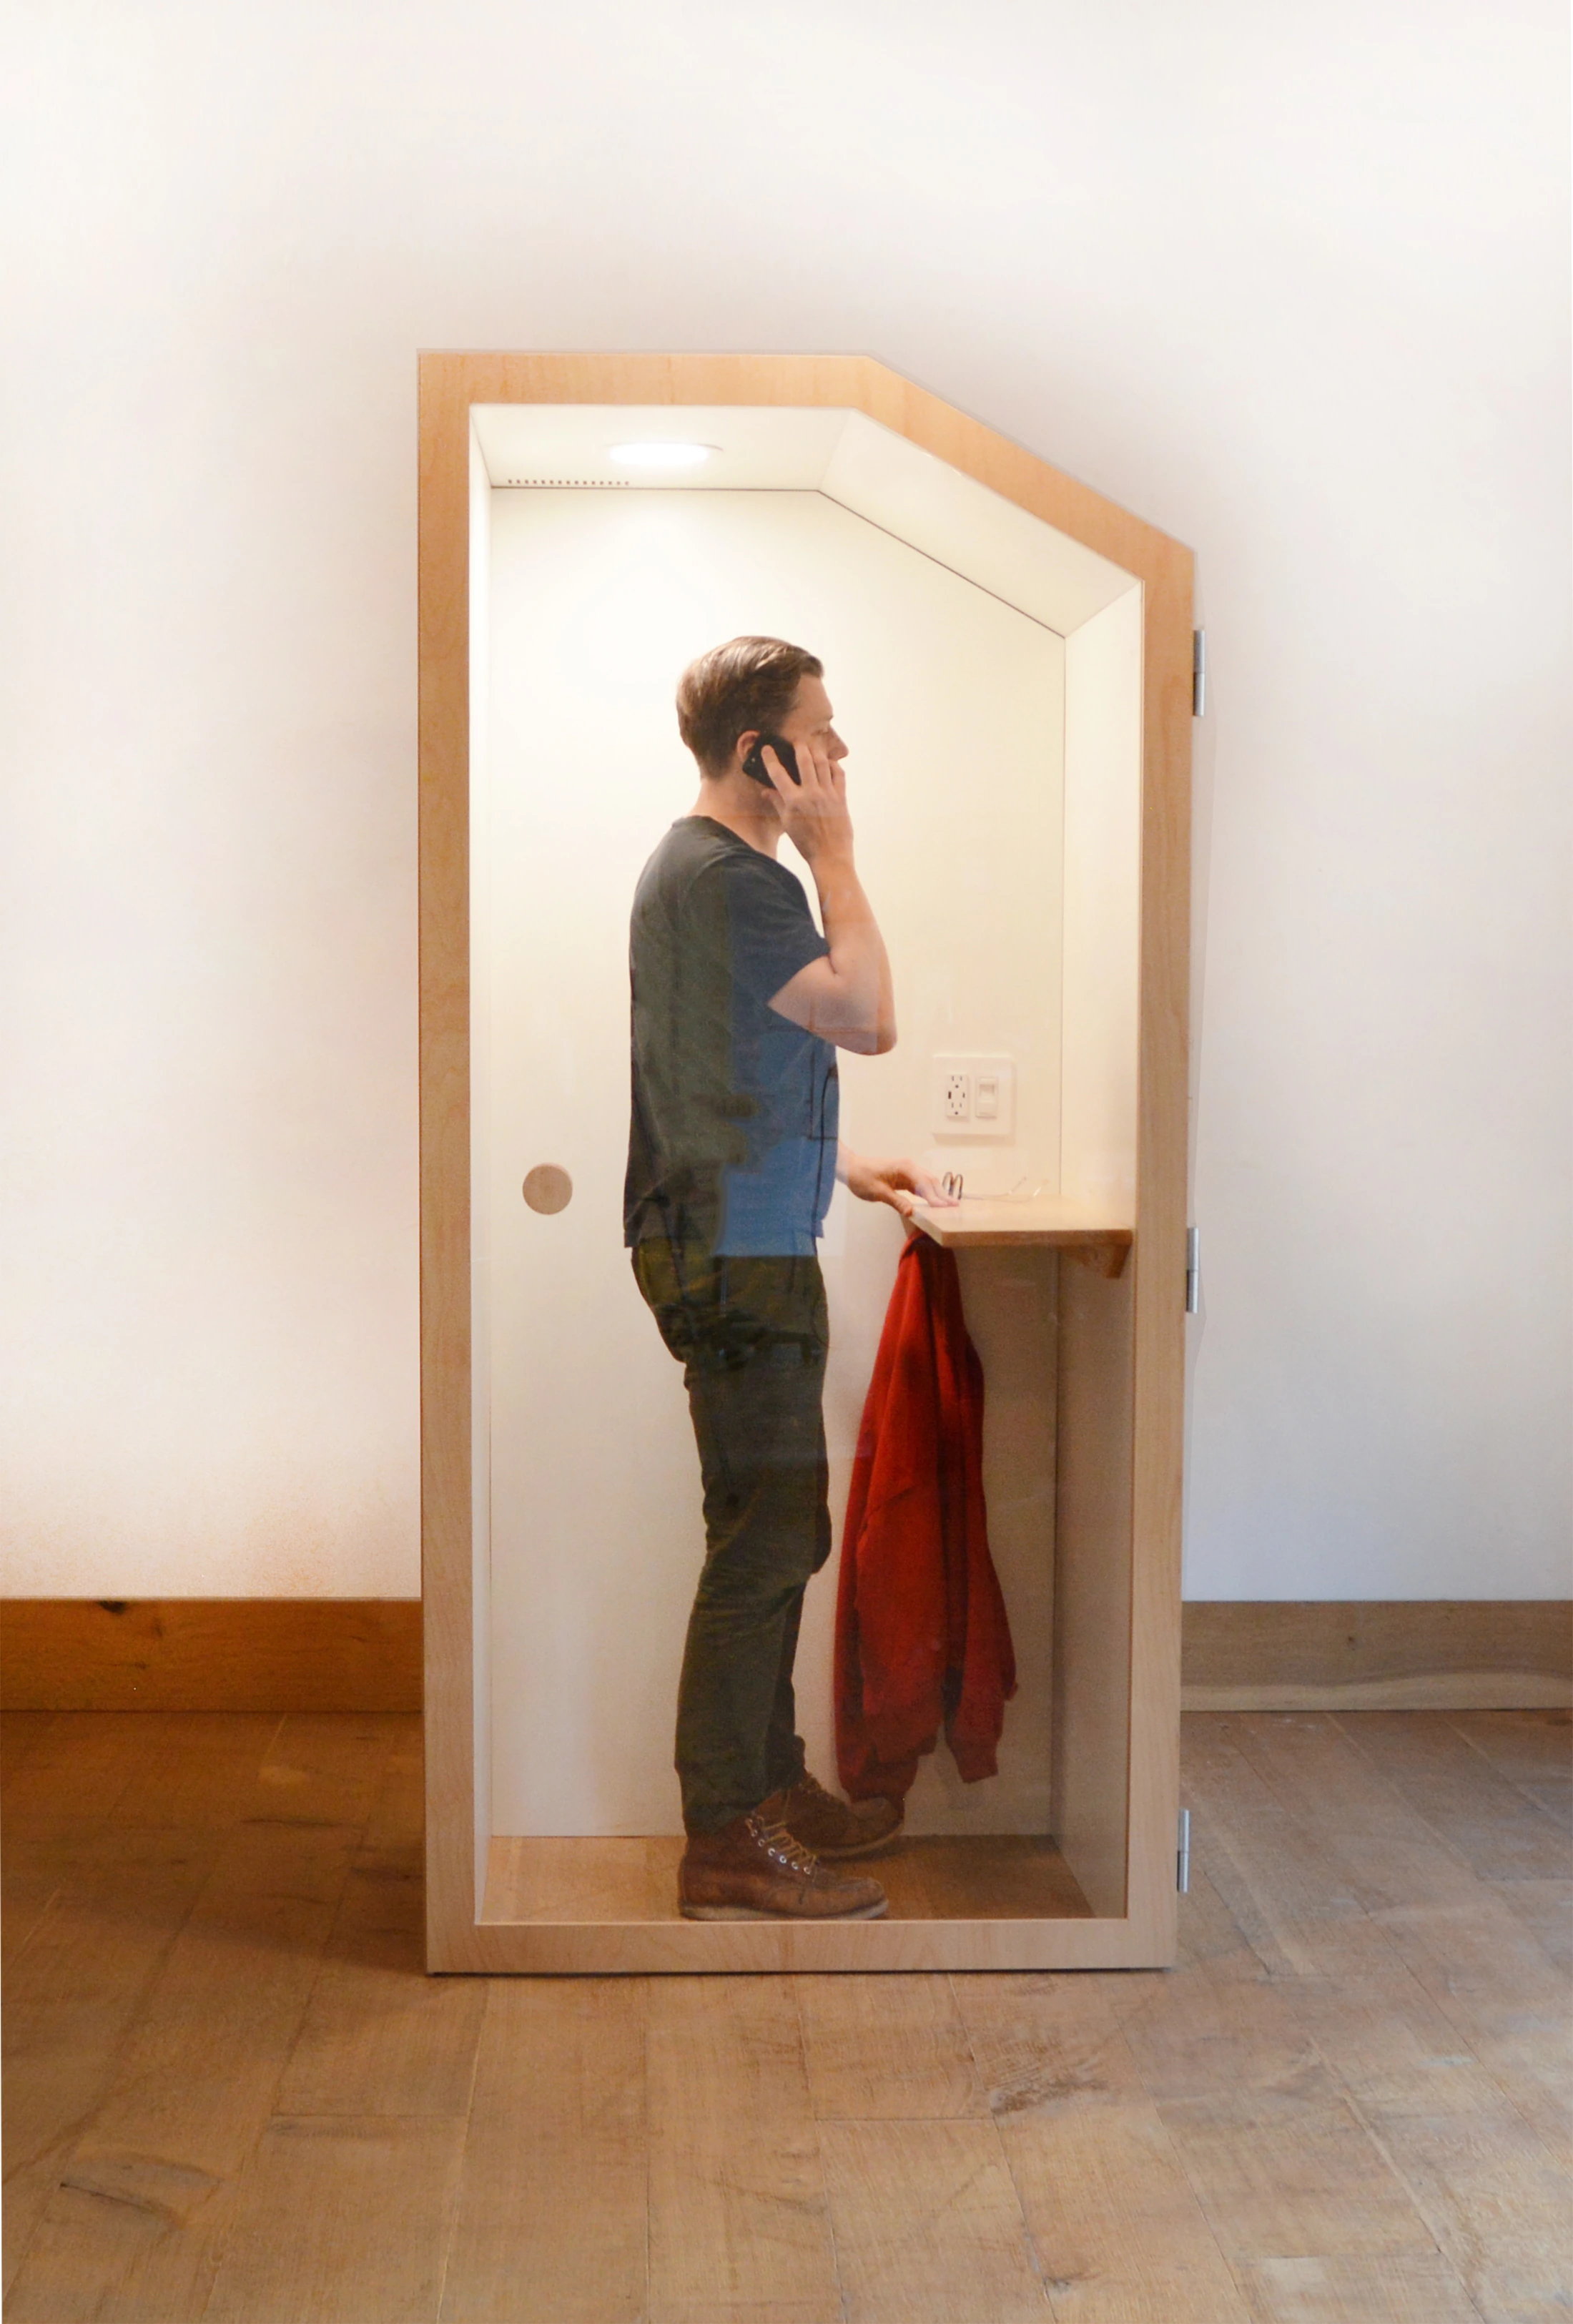
OpenBooth is human-sized. The fully transparent front door offers privacy and security.
The Problem
Open offices, libraries, and similar working environments often lack single-occupancy rooms that support phone calls. The construction cost of adding traditional booths — permitting, fire code, contractors — is prohibitive for most organizations.
We need a booth for phone calls that is fairly priced and doesn’t require a general contractor.
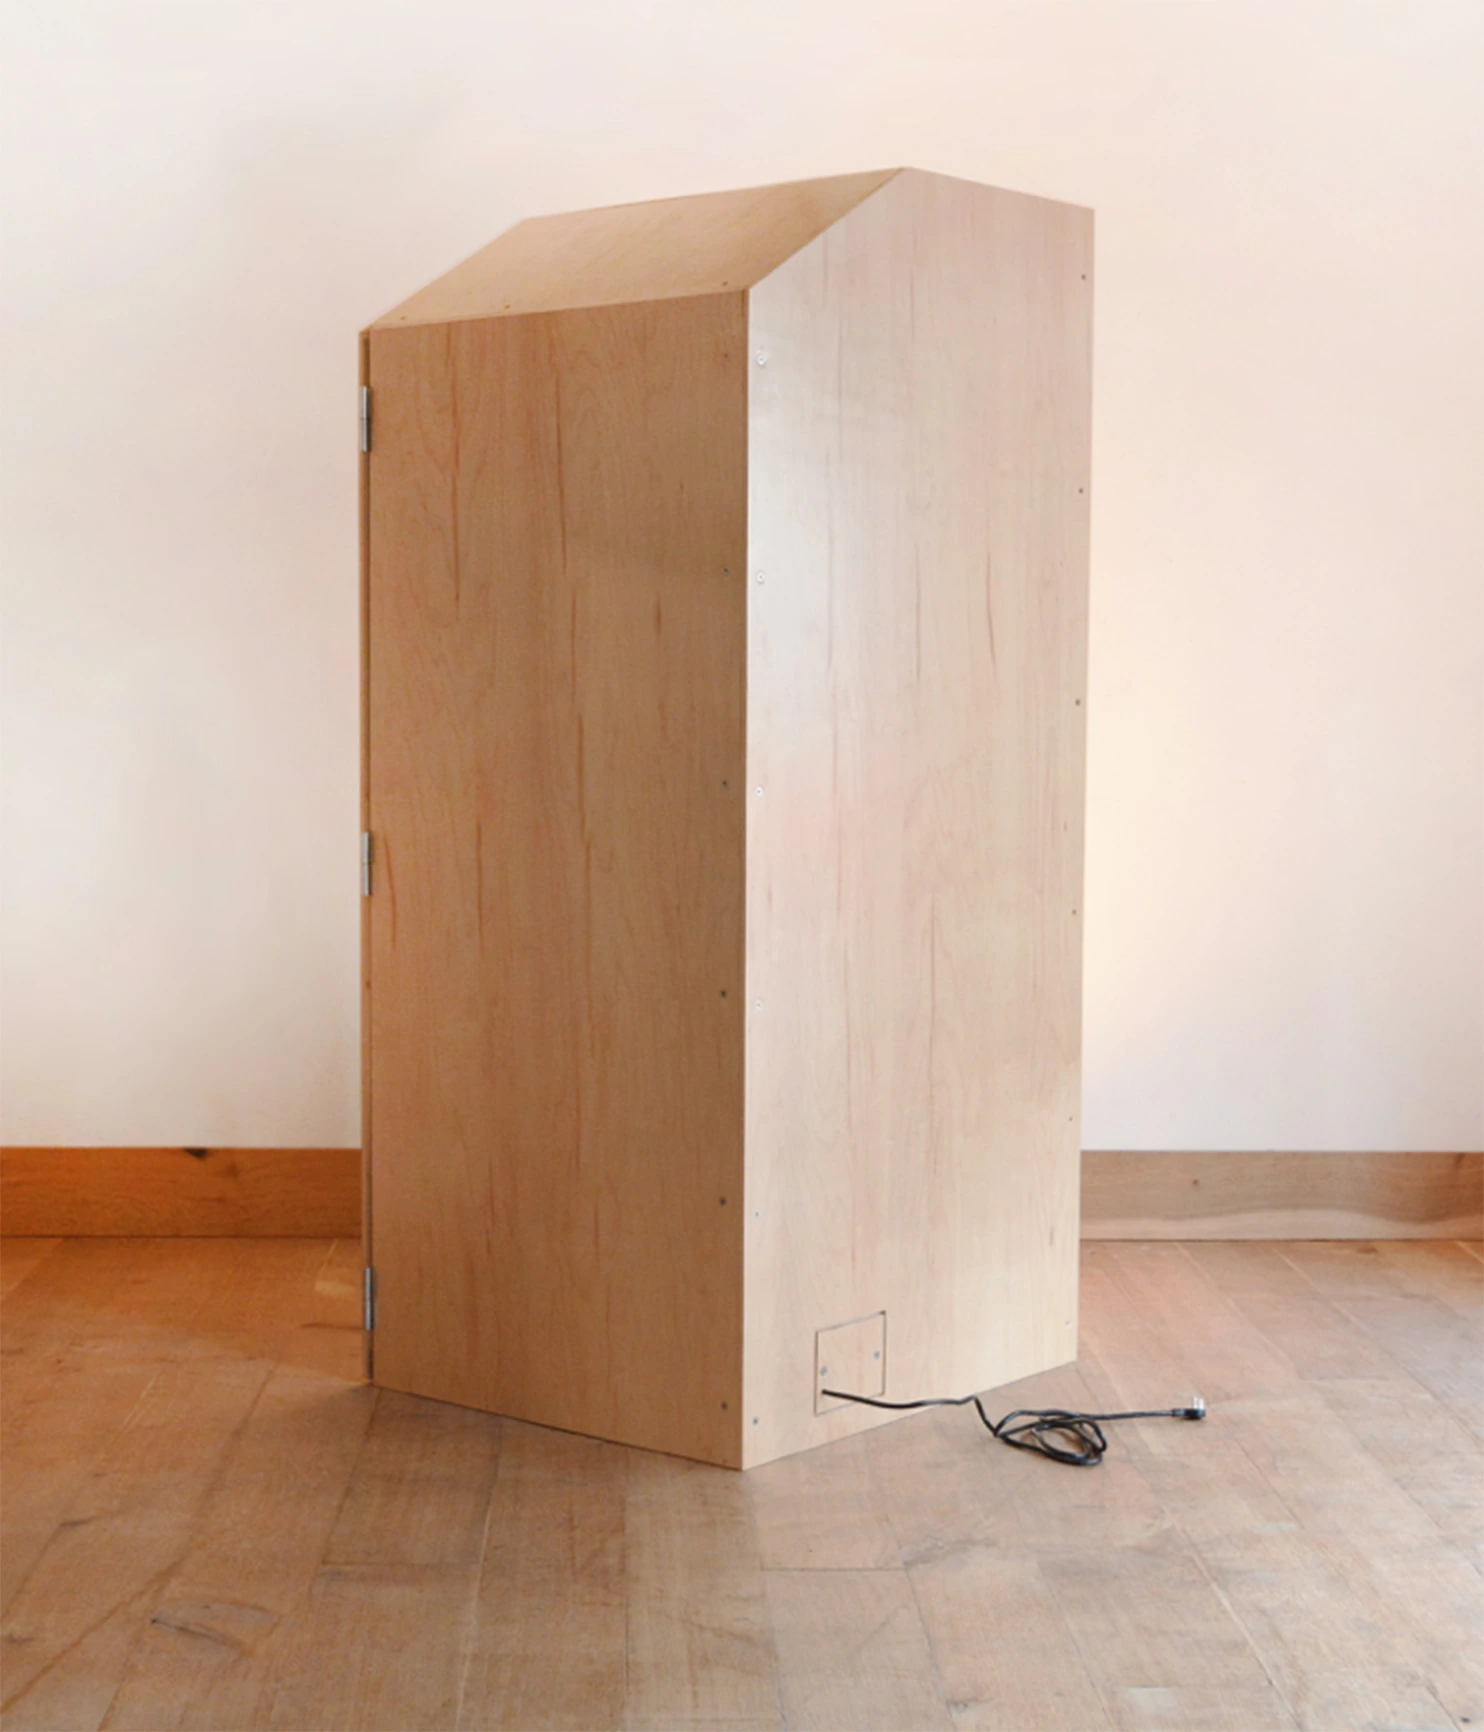
We no longer need phones in phone booths, but we still need the privacy the booth affords.
The Solution
Spaces for phone calls should be more like furniture than permanent rooms — that’s the route around permitting, fire code, and construction expense.
The result is a piece of occupiable furniture that ships flat, assembles on-site, and can be moved later.
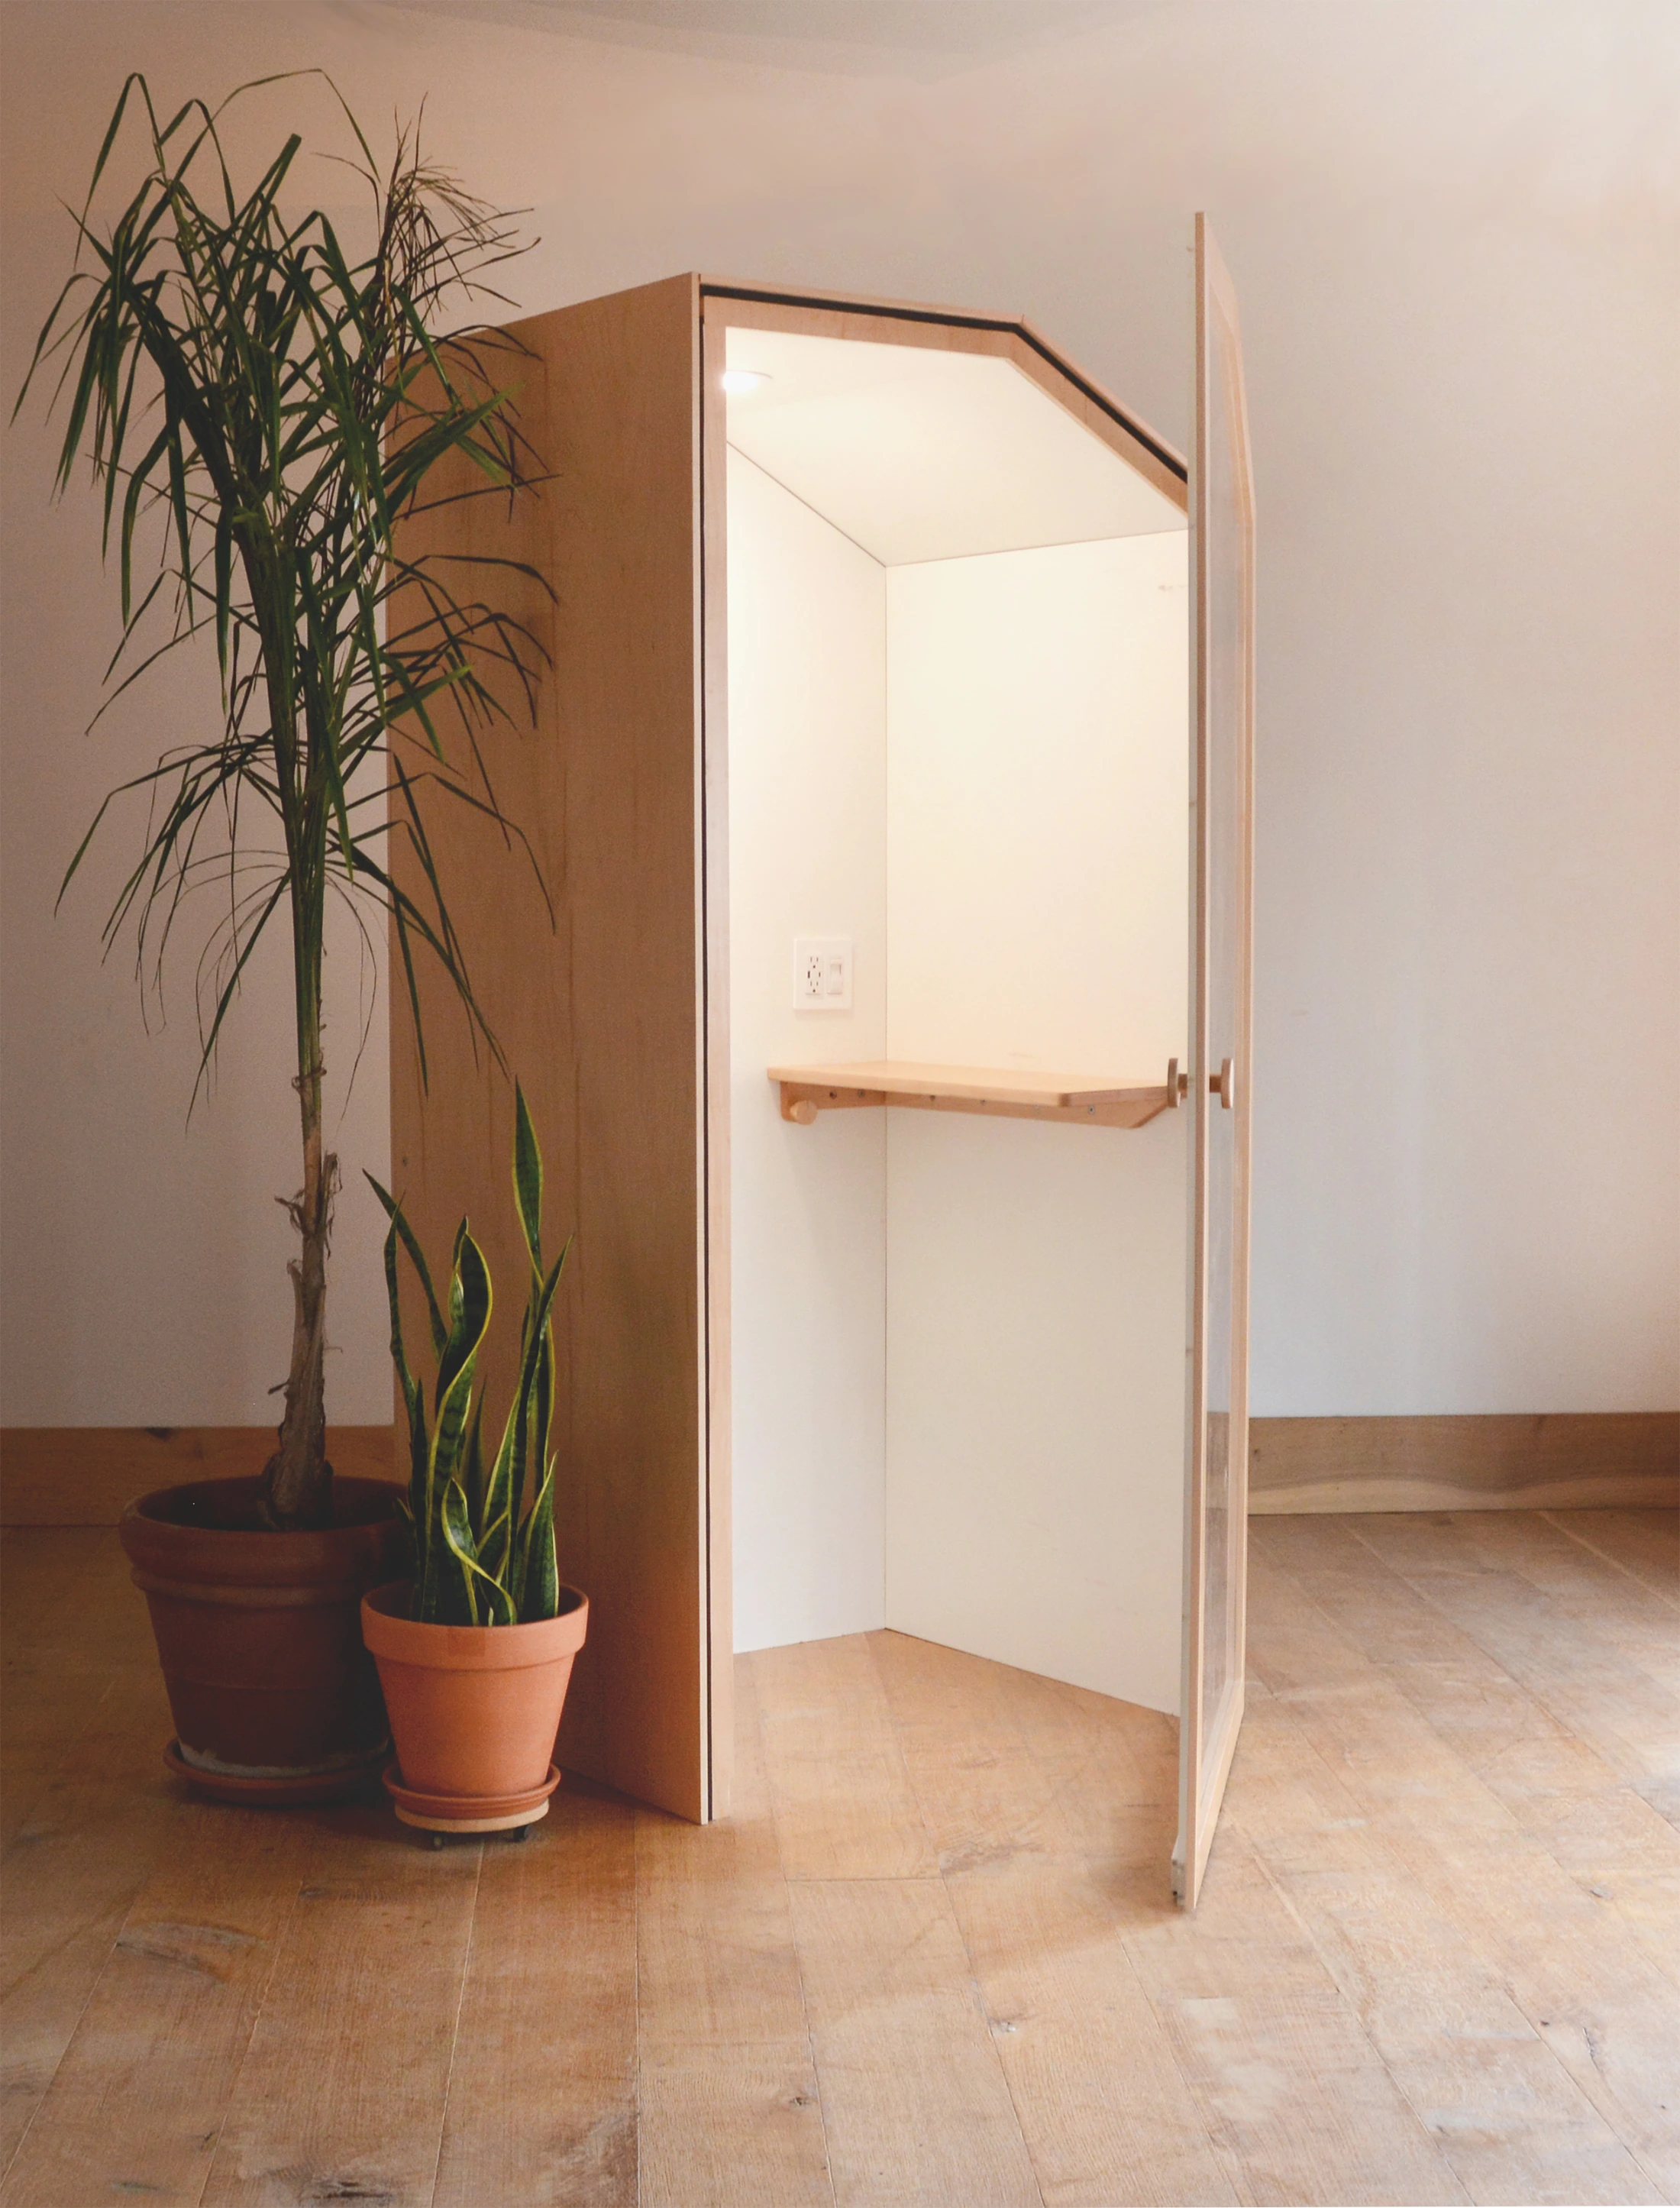
Step in and call your doctor or remote collaborator.
The Process
I used the same iterative process described in the Perma case study: cast a wide net first, then narrow until you have one design you can physically prototype.
Step One — Generate
Output: ~50 paper sketches and rough 3D models.
Draw many sketches — no more than 180 seconds per sketch. Think in wild ways. Let your imagination soar.
I made about 70 sketches and rough models, each exploring a different fundamental starting point for what a booth could be.
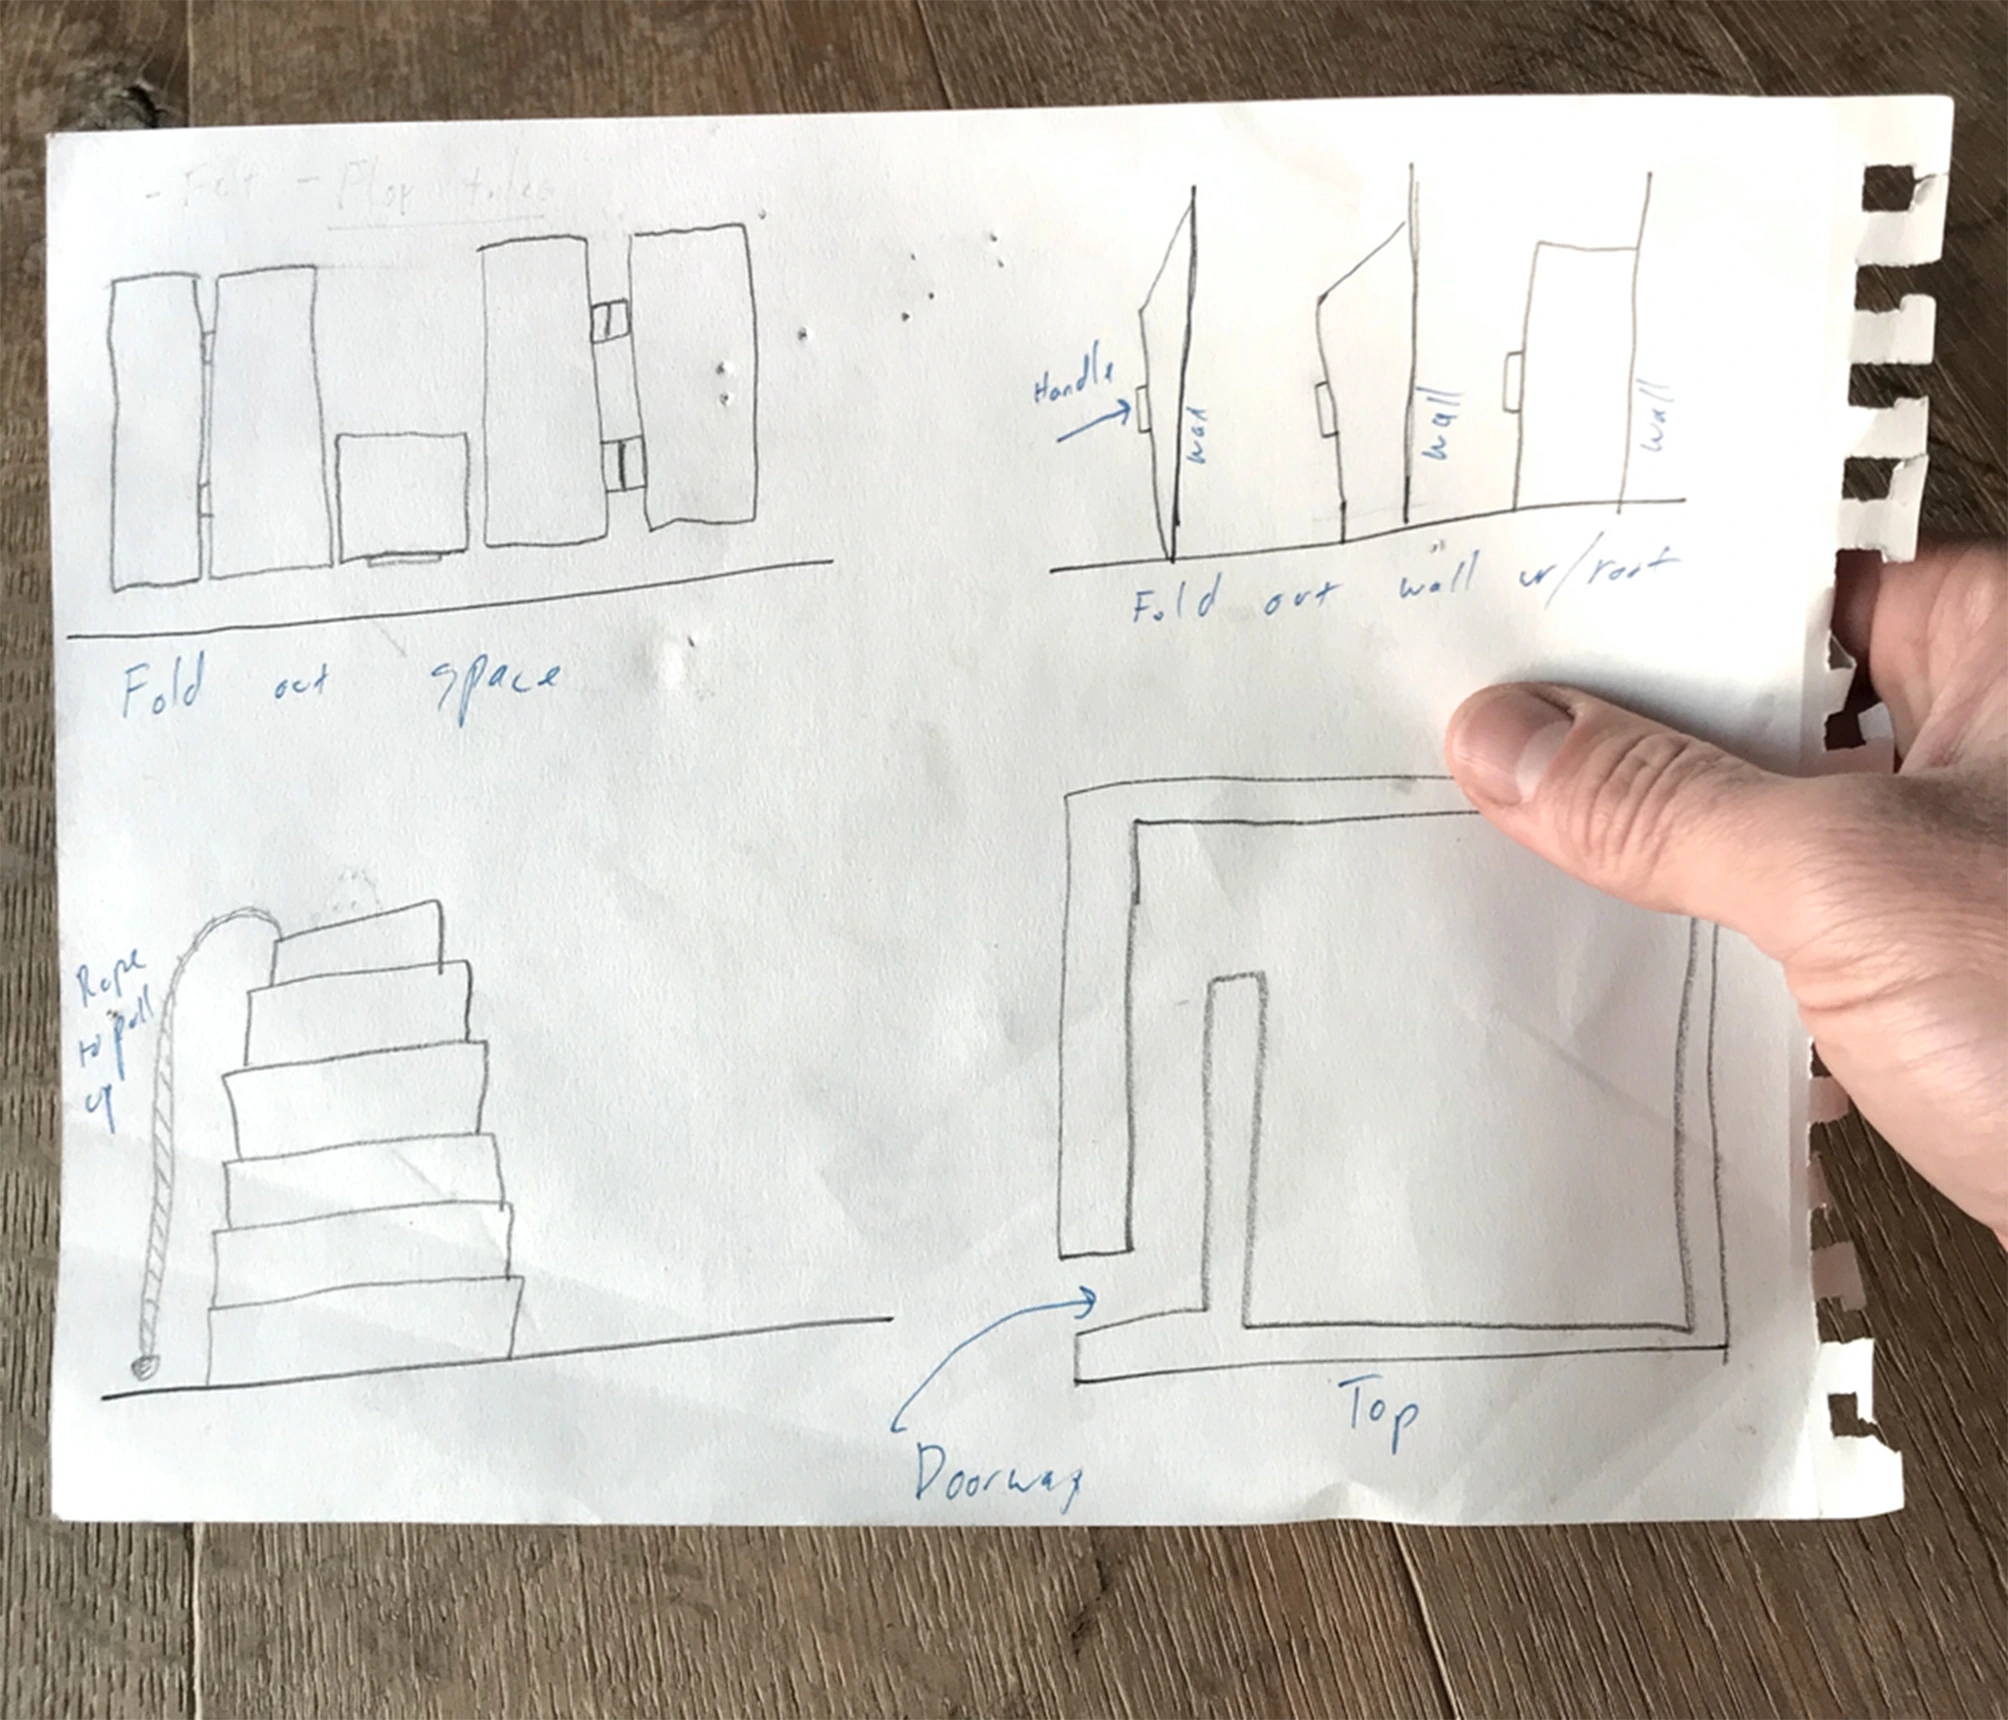
Question the fundamentals. What is a phone booth?
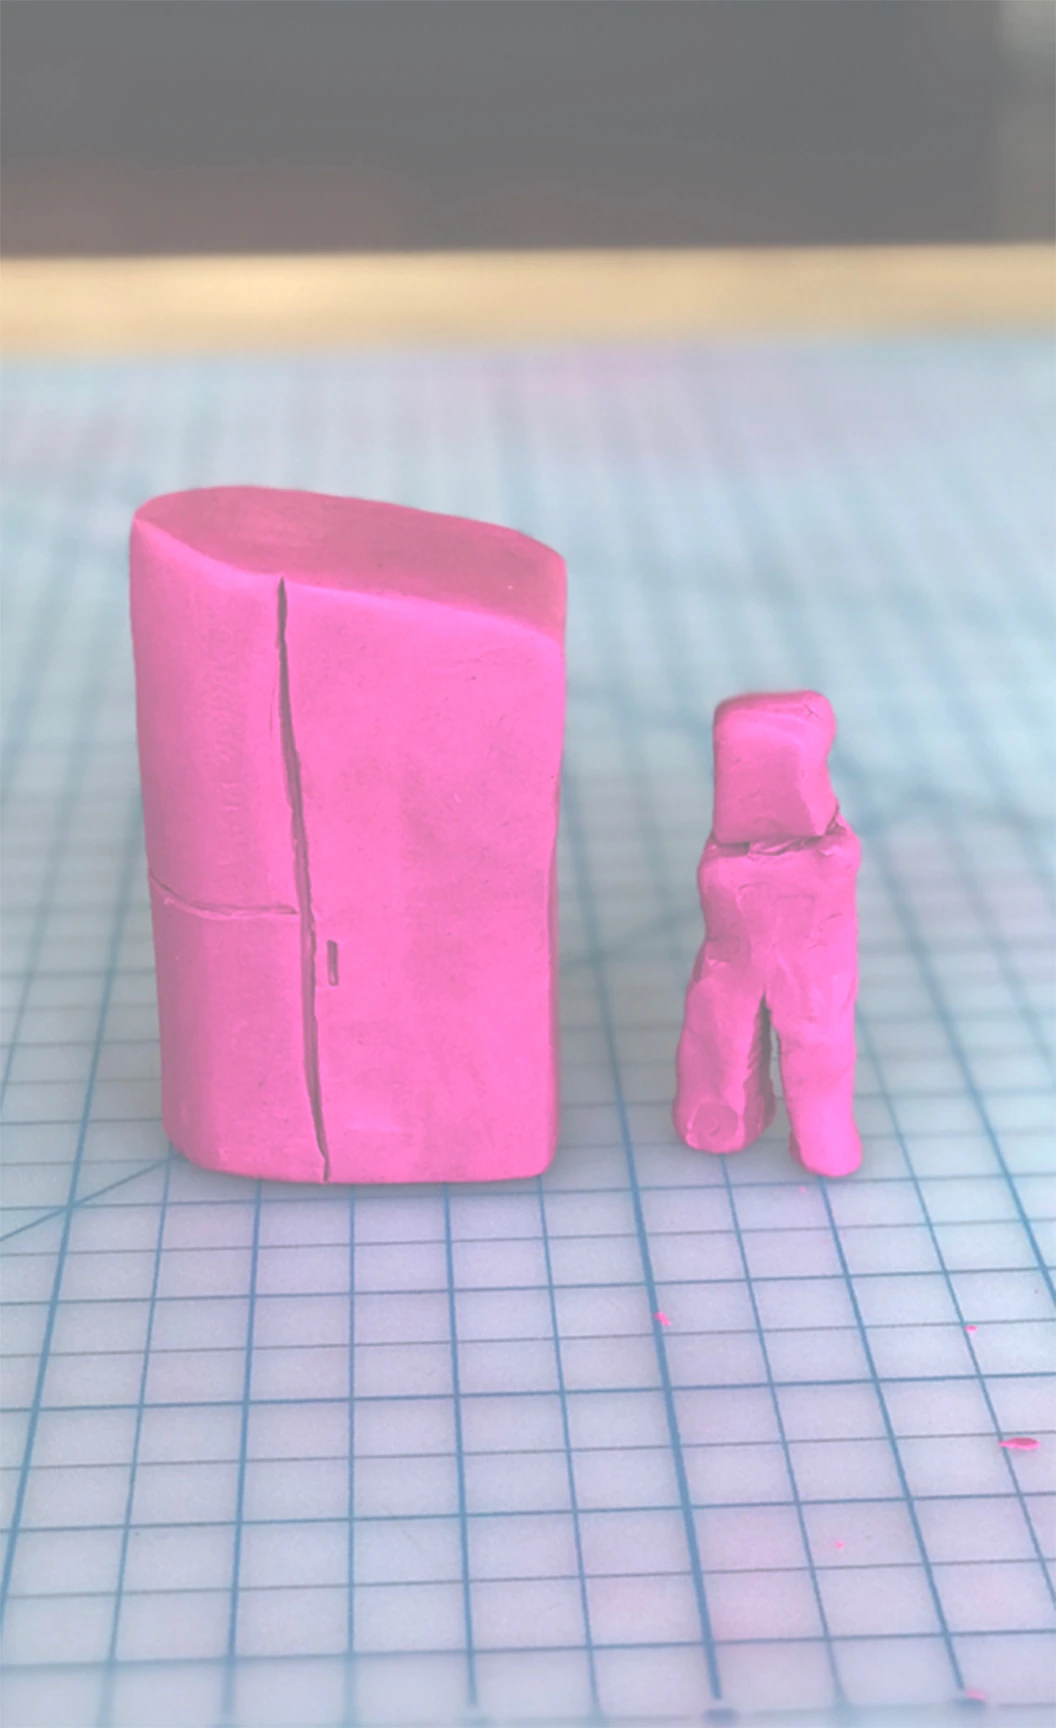
3D modeling in low-fidelity quickly advances your thinking beyond a flat plane.
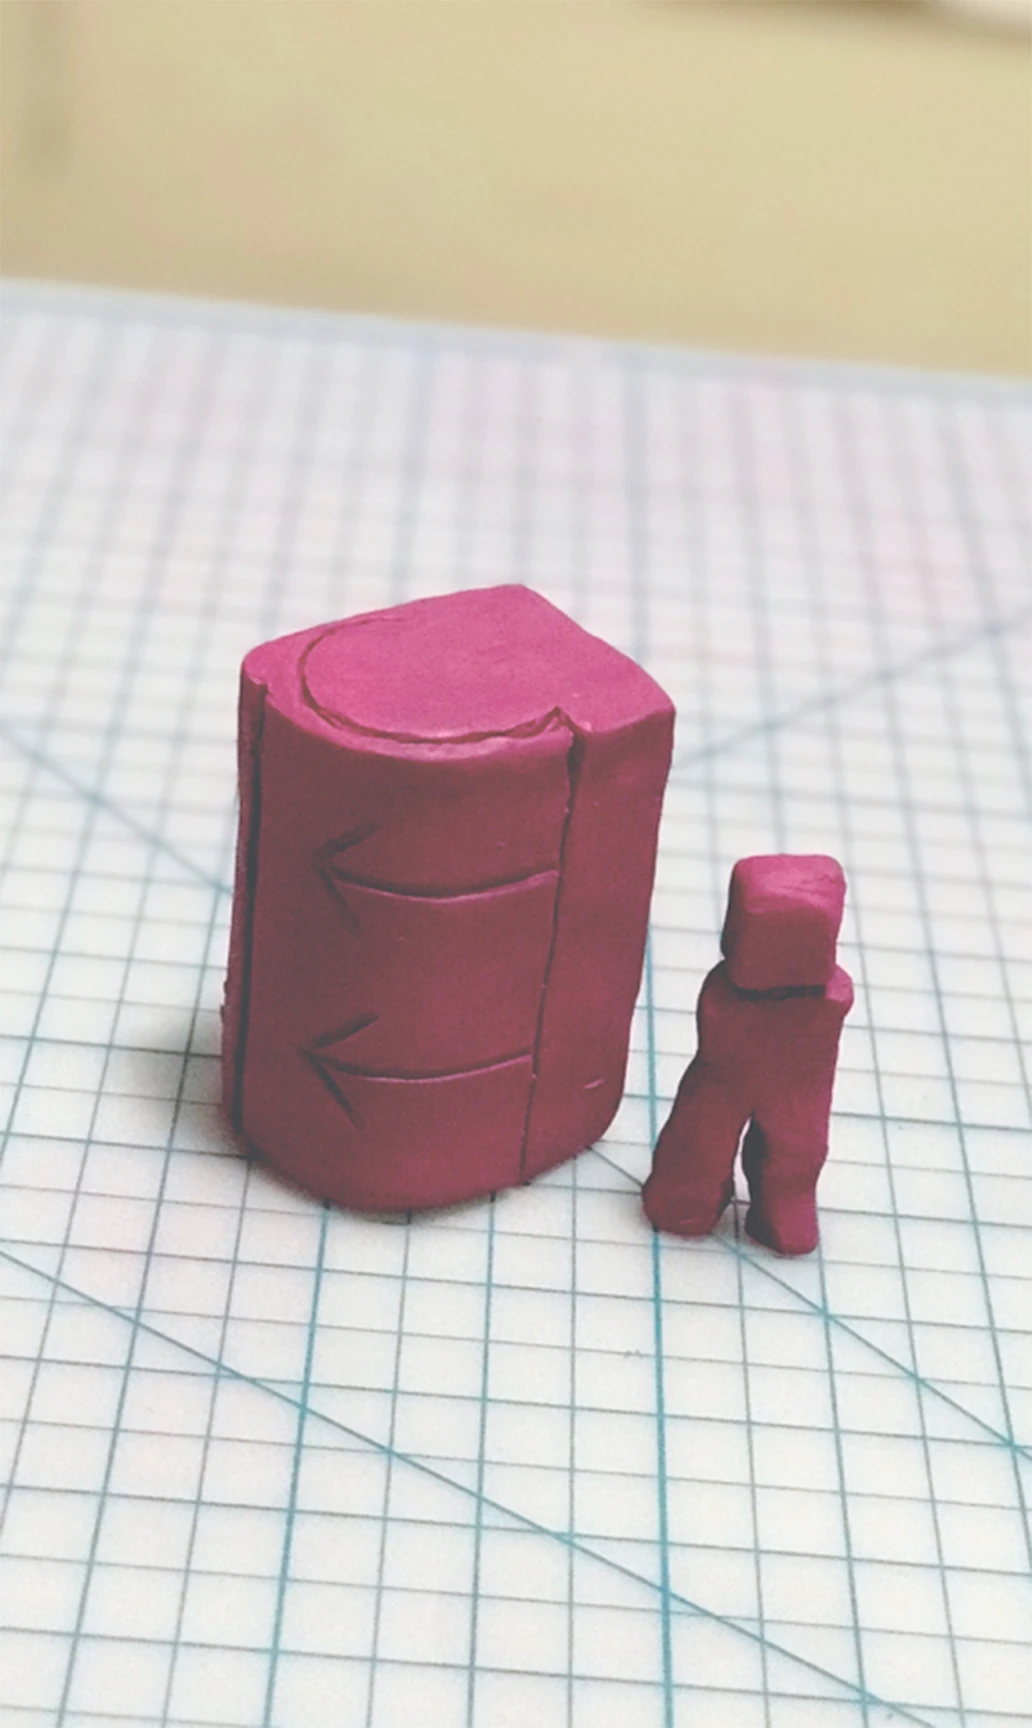
This model wanted a sliding, wrap-around door.
Step Two — Group
Output: inspirational photos and rough shape mockups.
Take the most promising ideas from step one and develop them a little. Follow your nose with designs that go beyond pencil and paper, but stay loose on construction methods and materials — those are still out of scope.
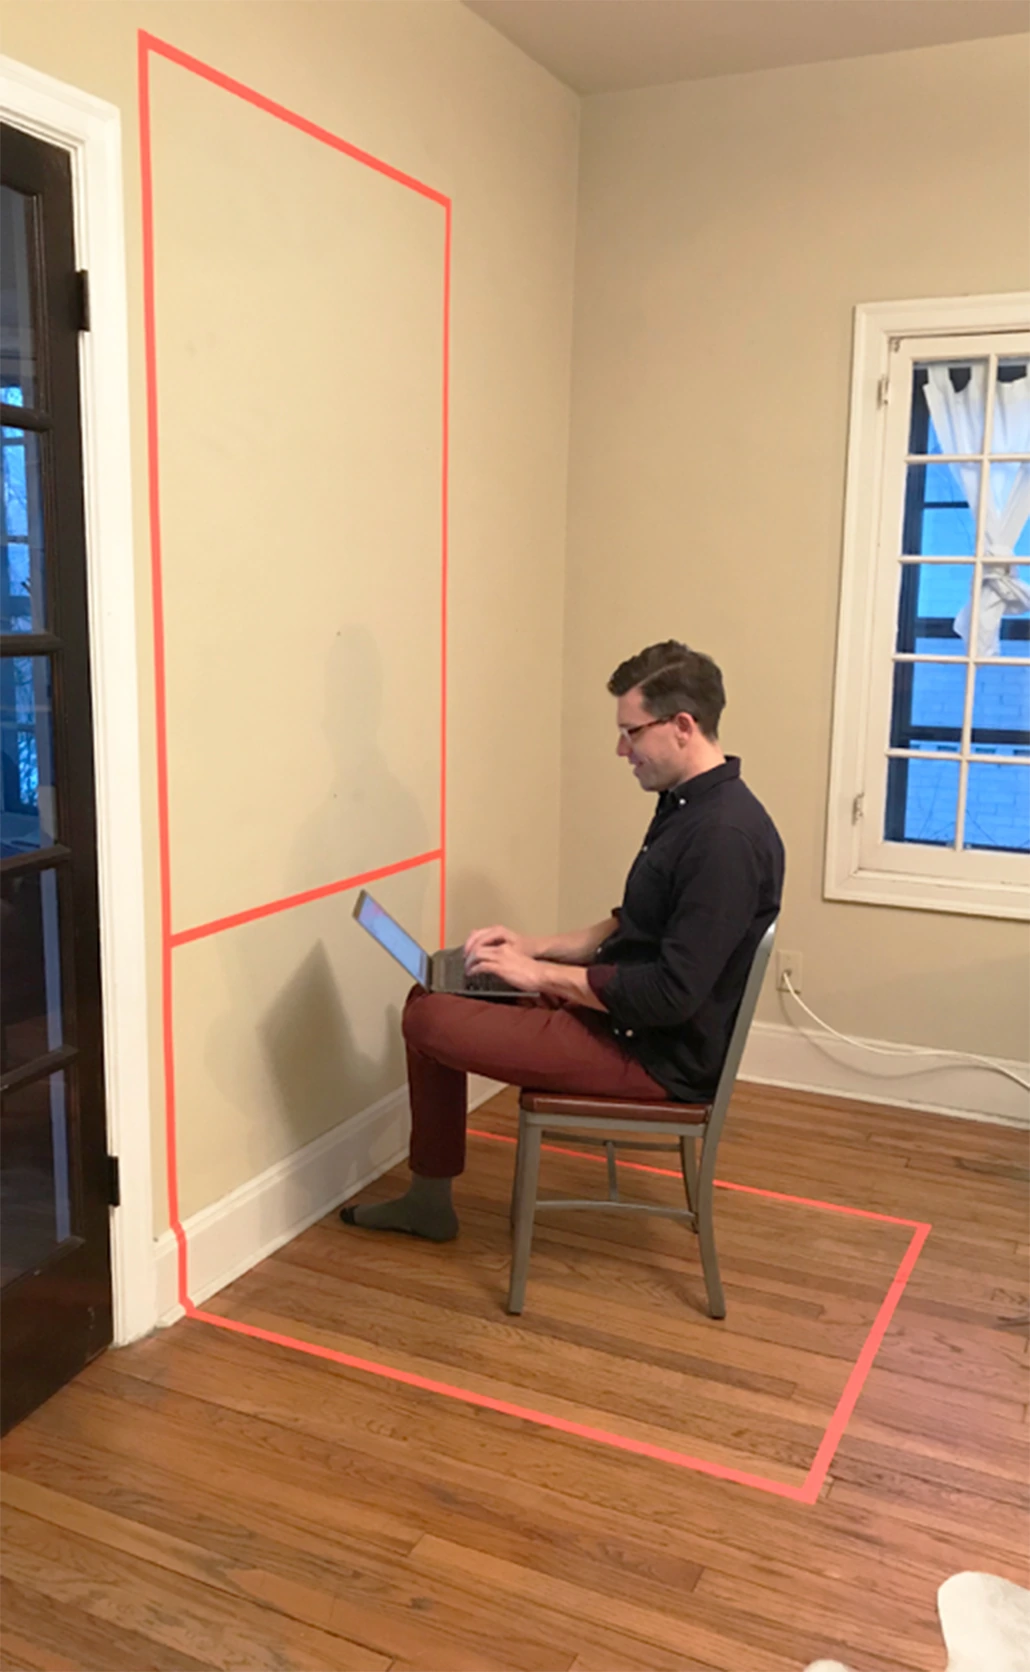
Getting the feel of working in a booth.
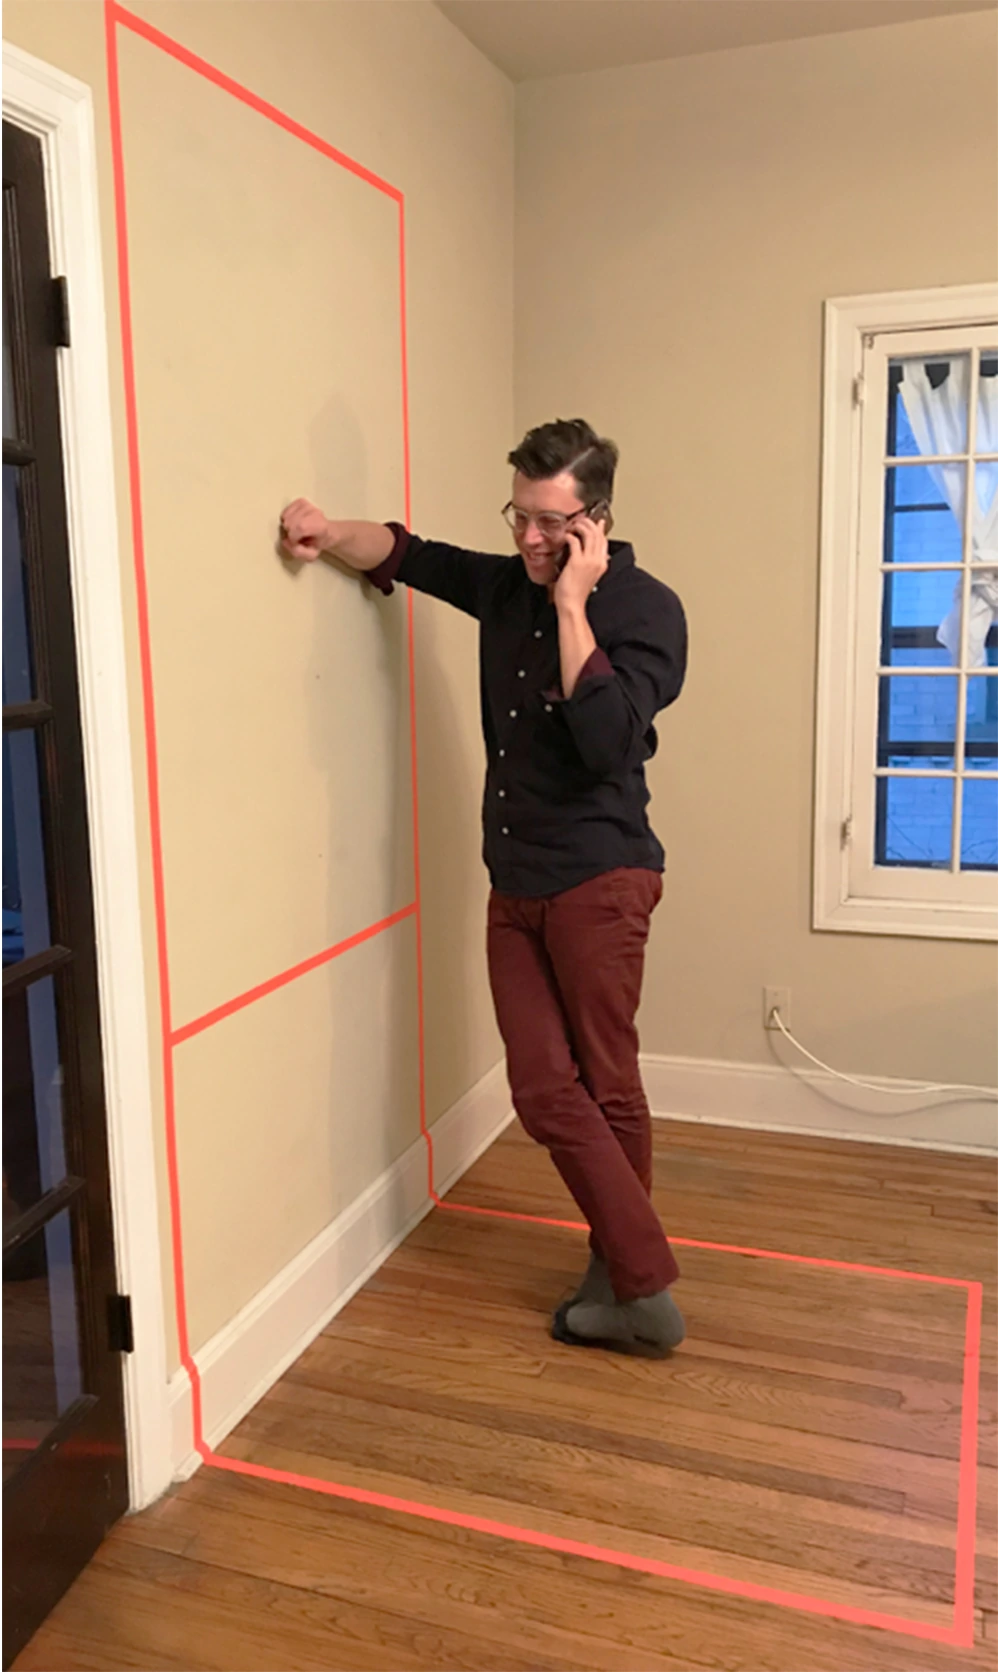
Should we provide a desk? A stool?
Step Three — Sketch
Output: sketched elevations and simple scale models.
Now we narrow. Look at prior art and start moving with intention. Synthesize the strongest ideas; play with the most interesting ones.
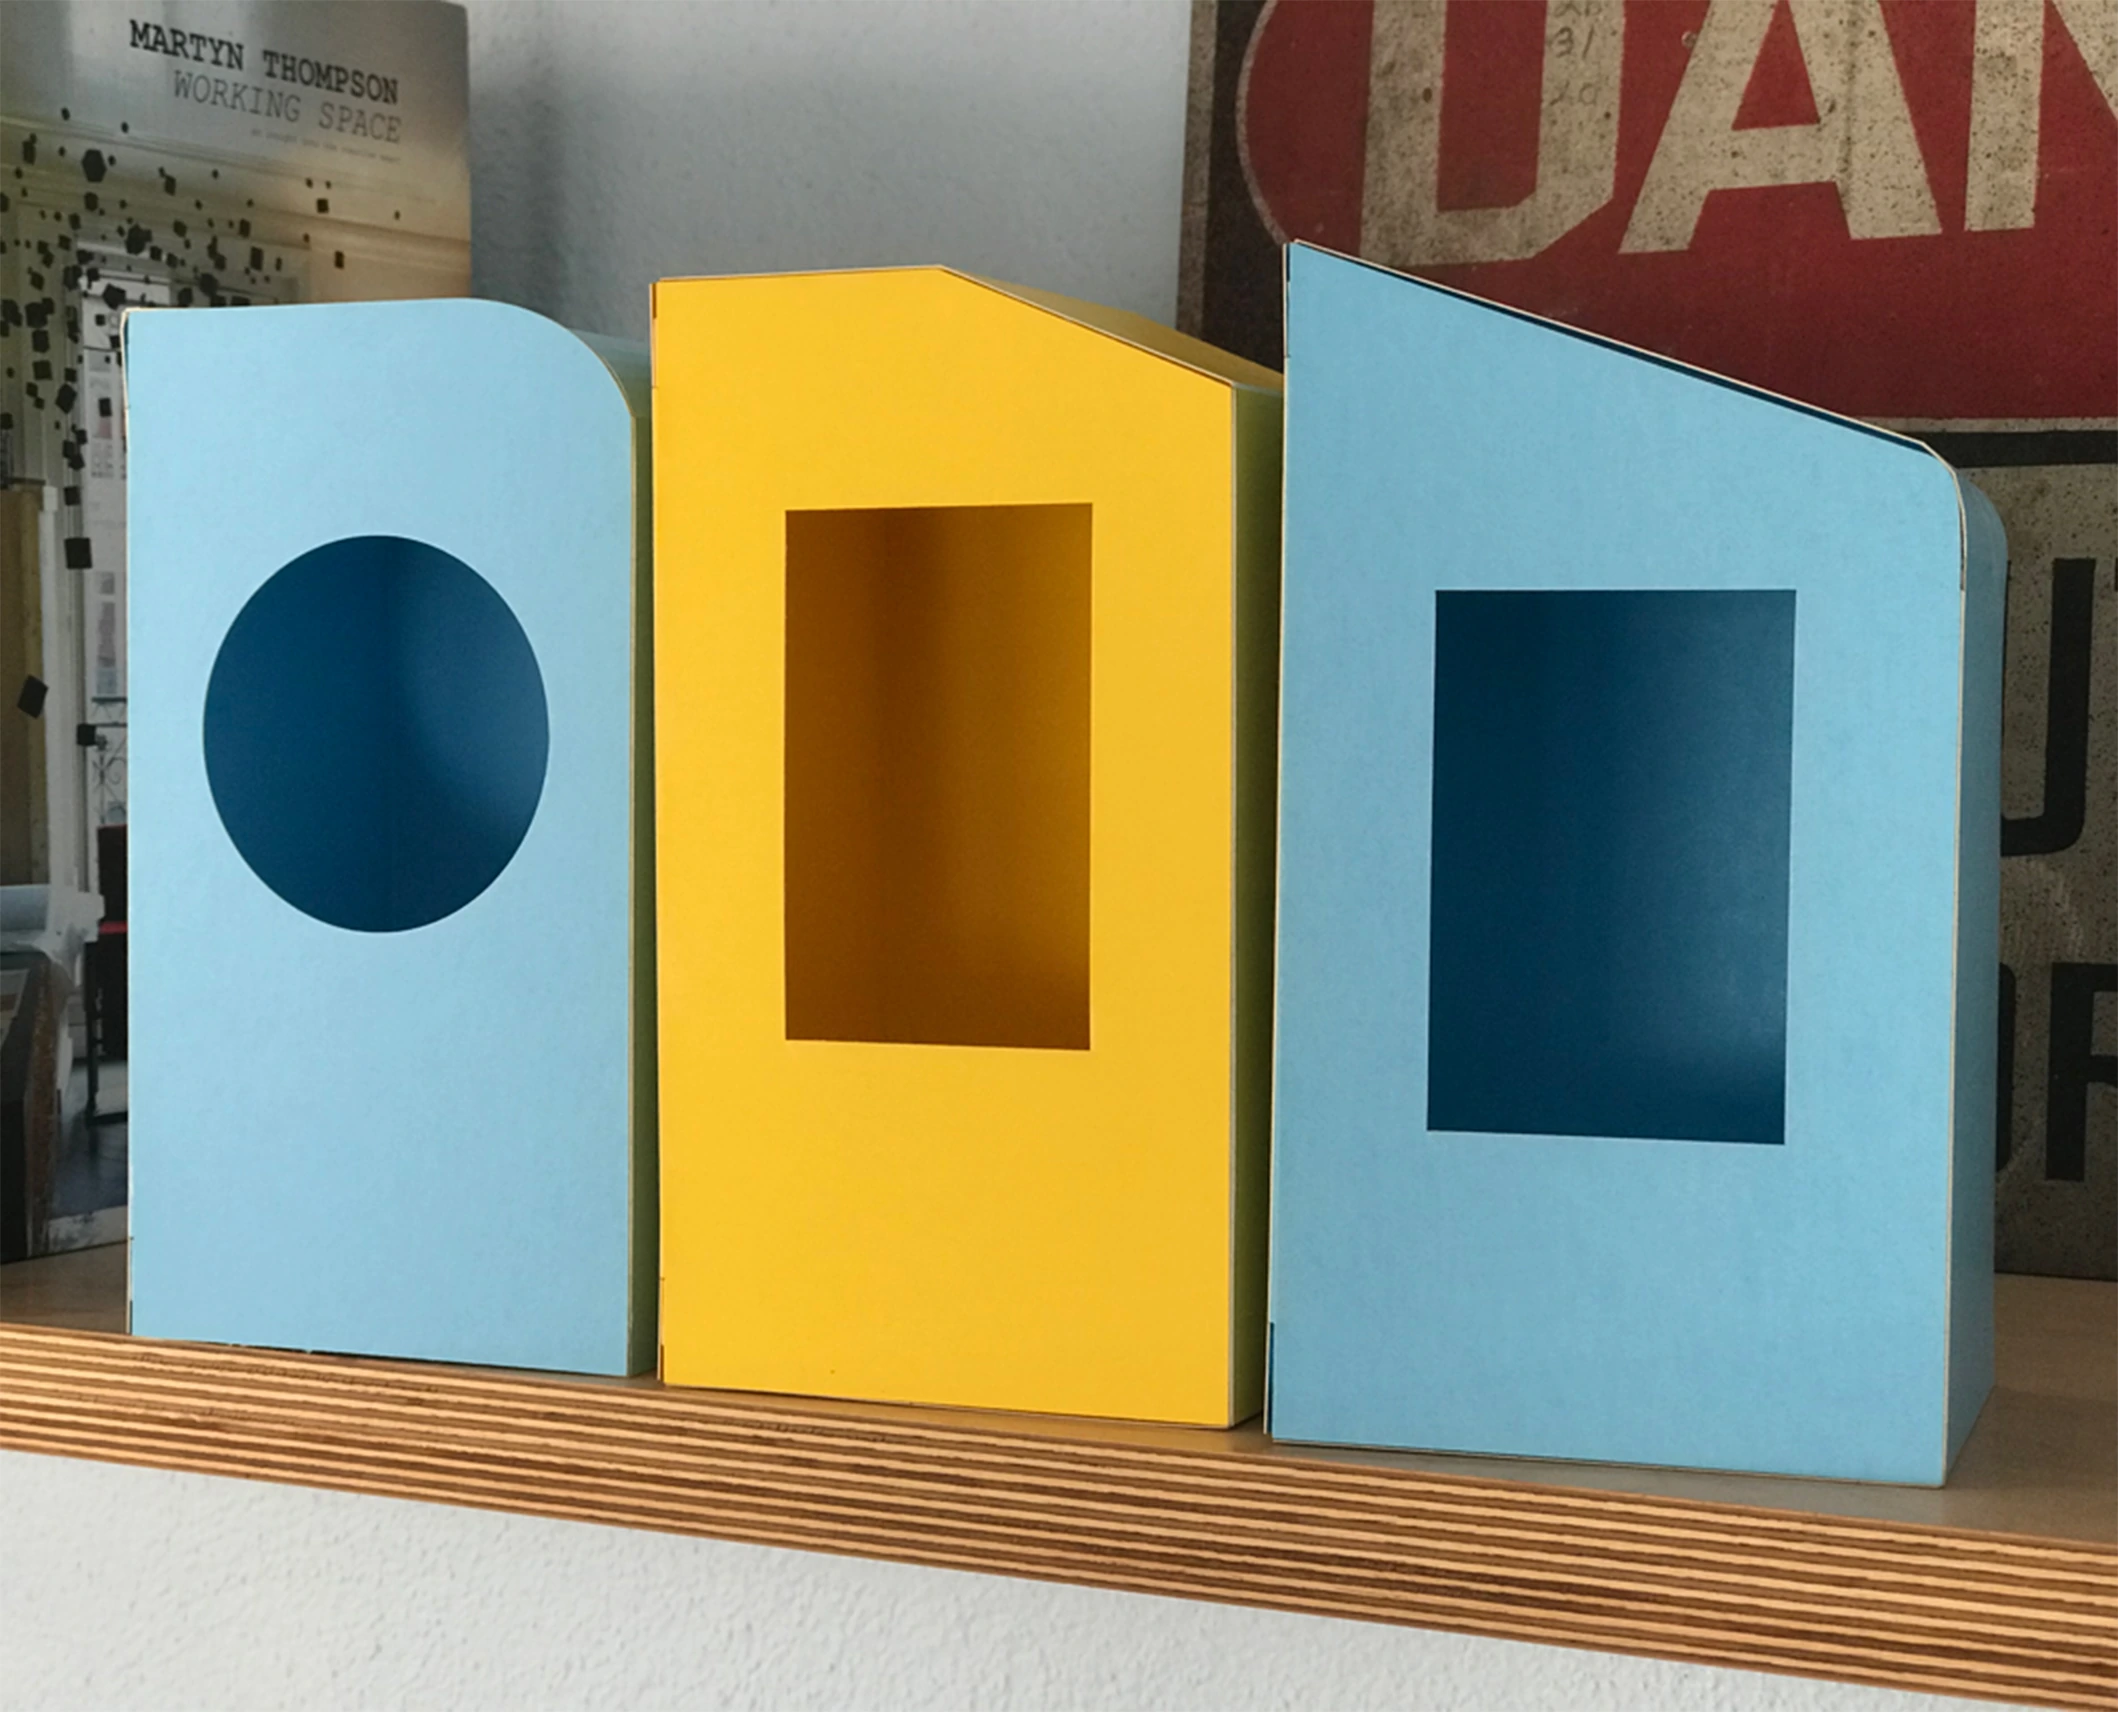
Laser-cut 1:12 paper models of a few interesting elevations.
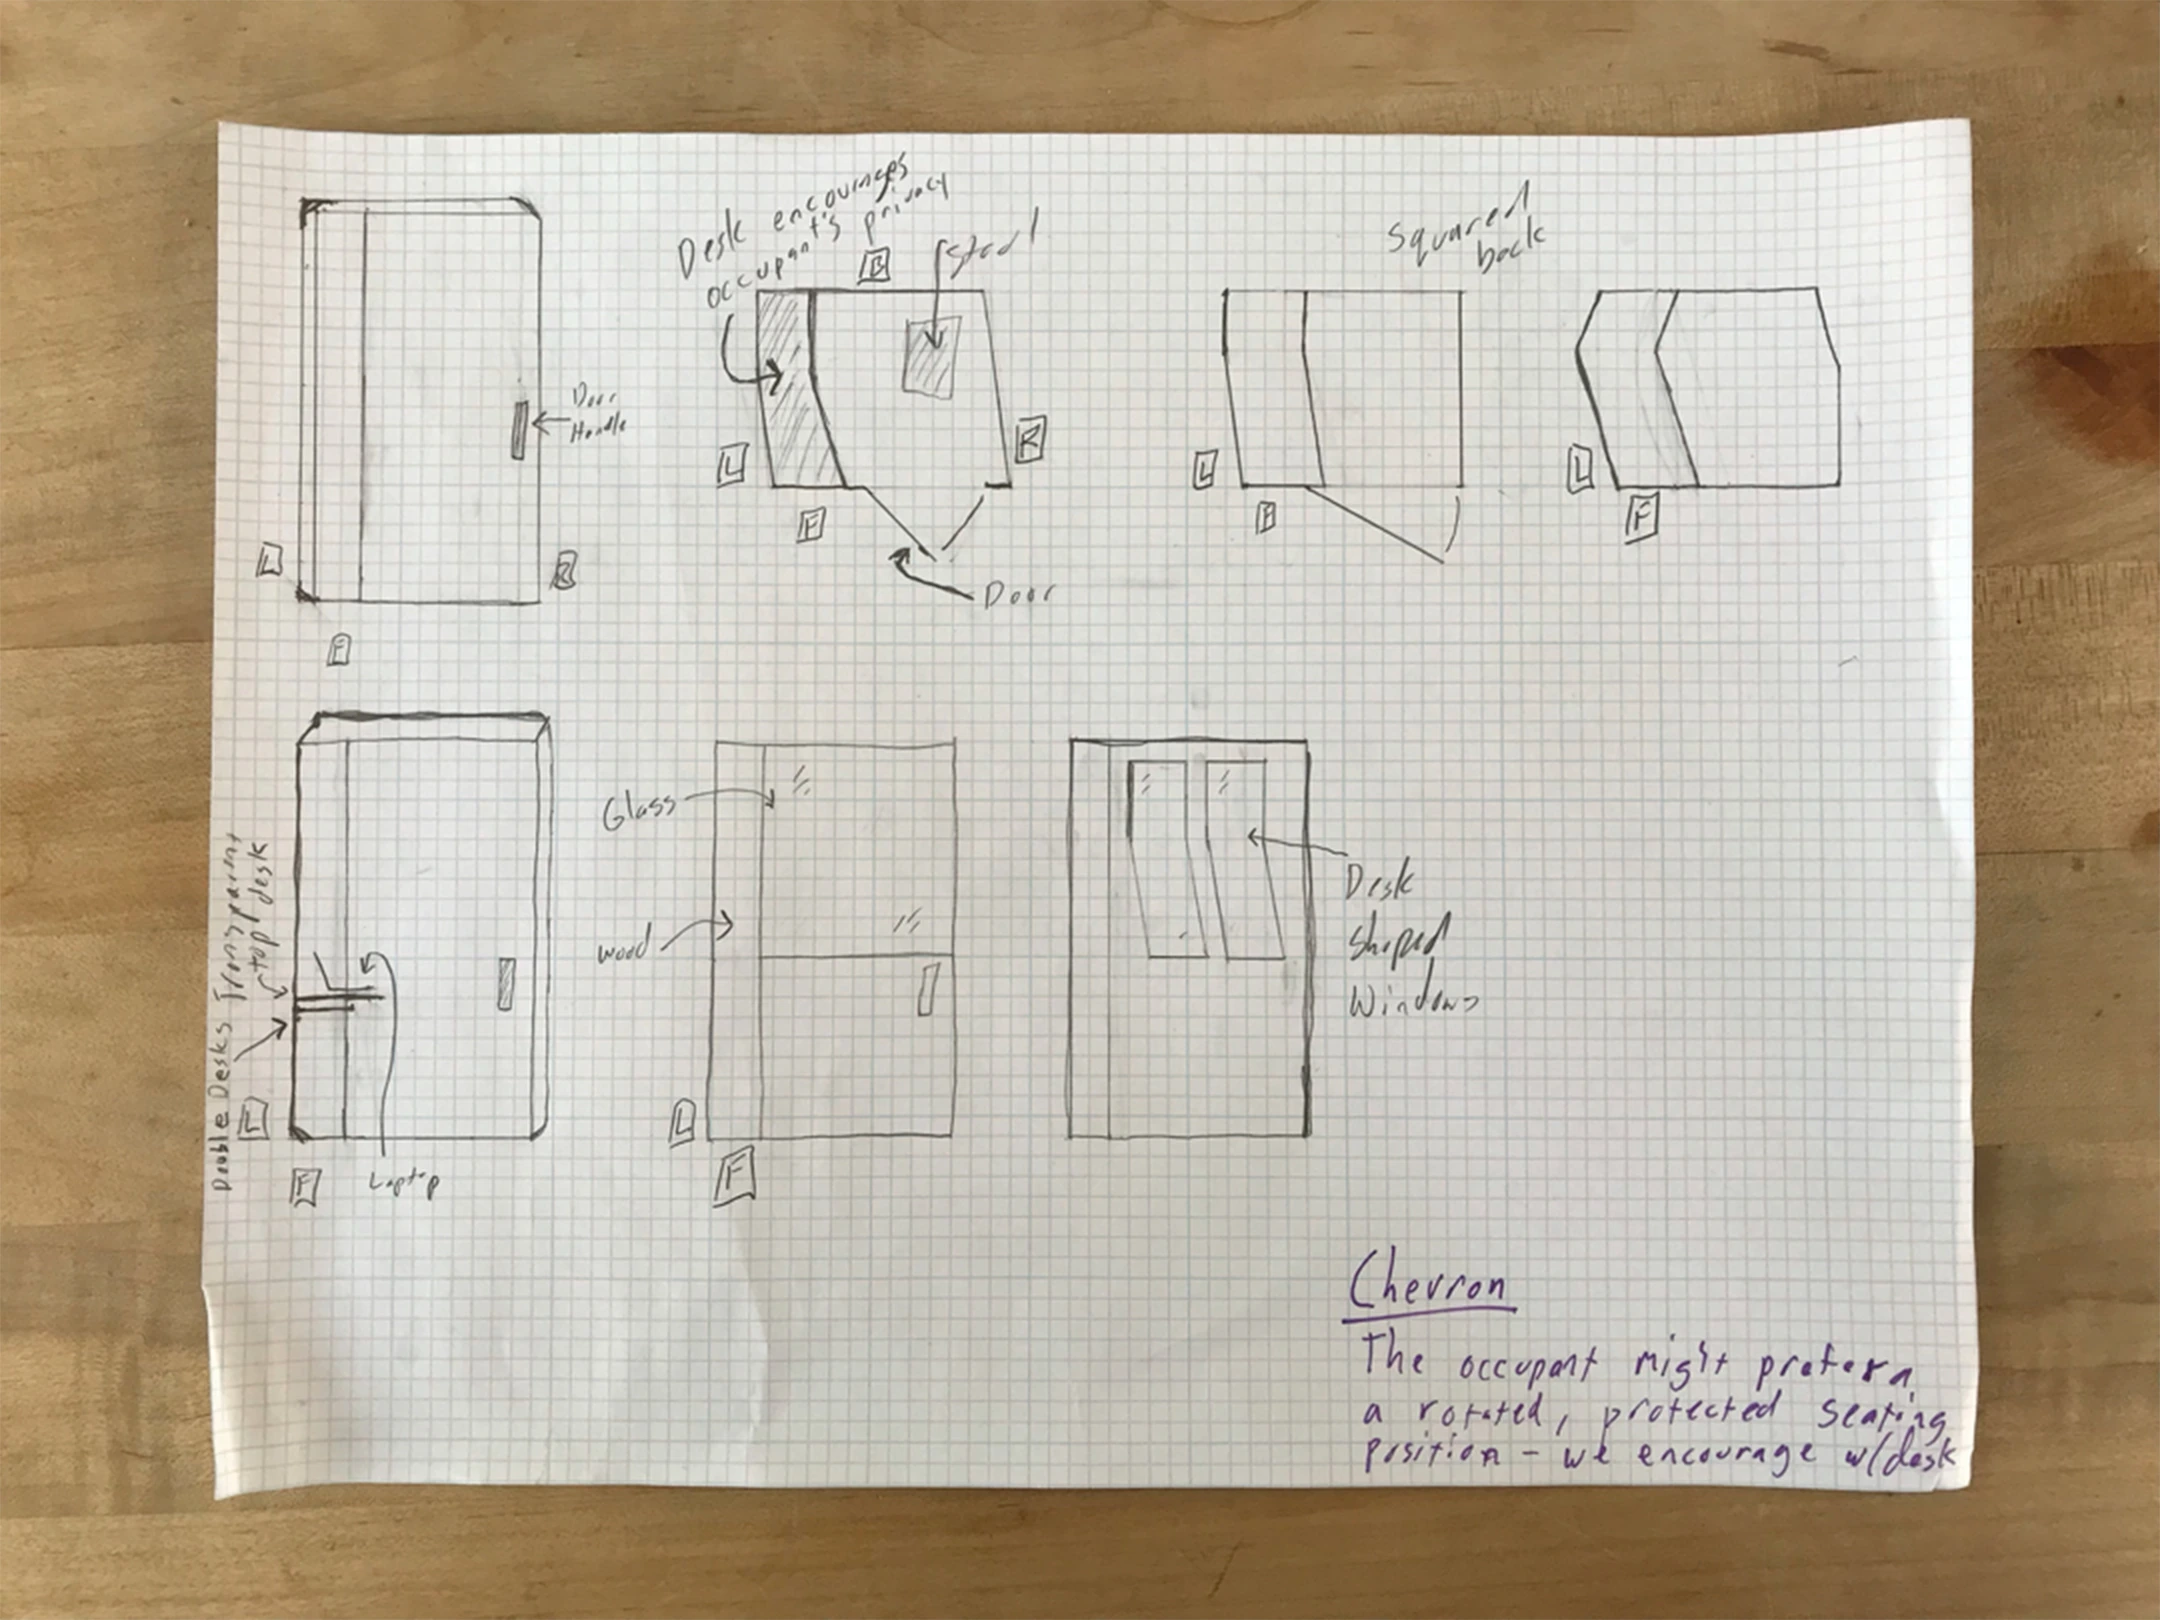
Sketching out exciting features builds working knowledge of the potential object.
Step Four — Refine
Output: medium-fidelity models and CAD assemblies.
Once you have a feel for the object, the great translation begins: paper sketches become CAD parts; parts group into subassemblies. Use CAD modeling to catch project-blocking bugs before you’ve cut anything expensive.
I transcribed paper sketches into 3D CAD parts and grouped them into five subassemblies.
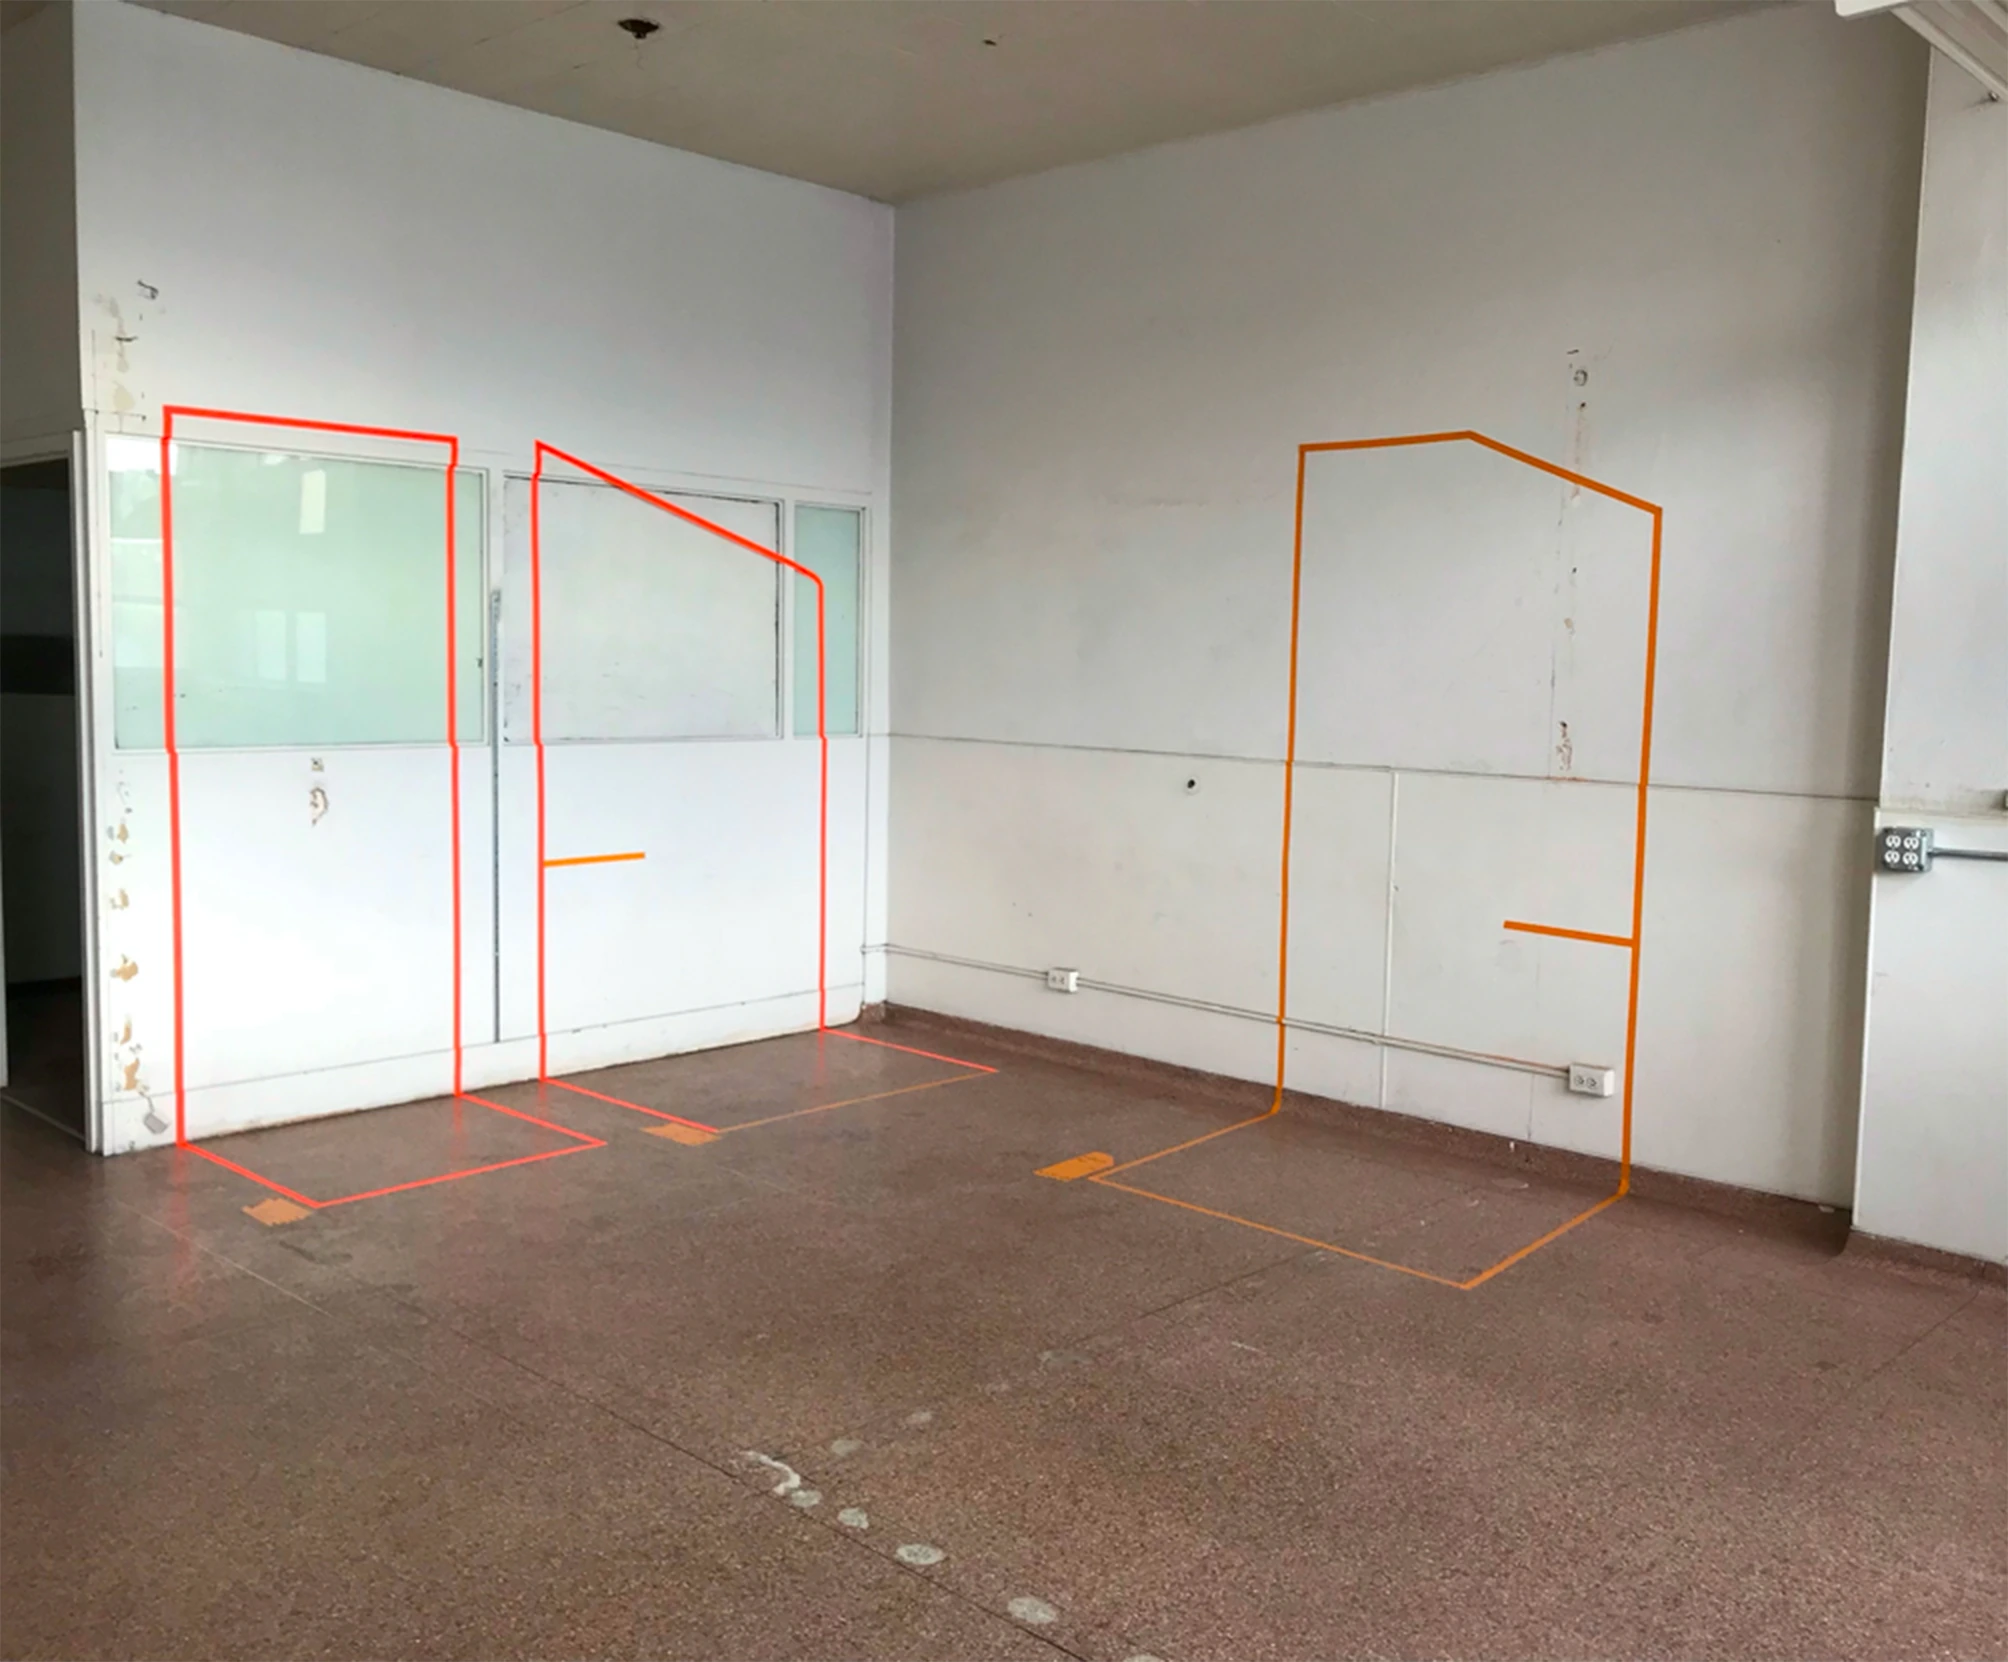
Potential booth elevations taped out on the wall.
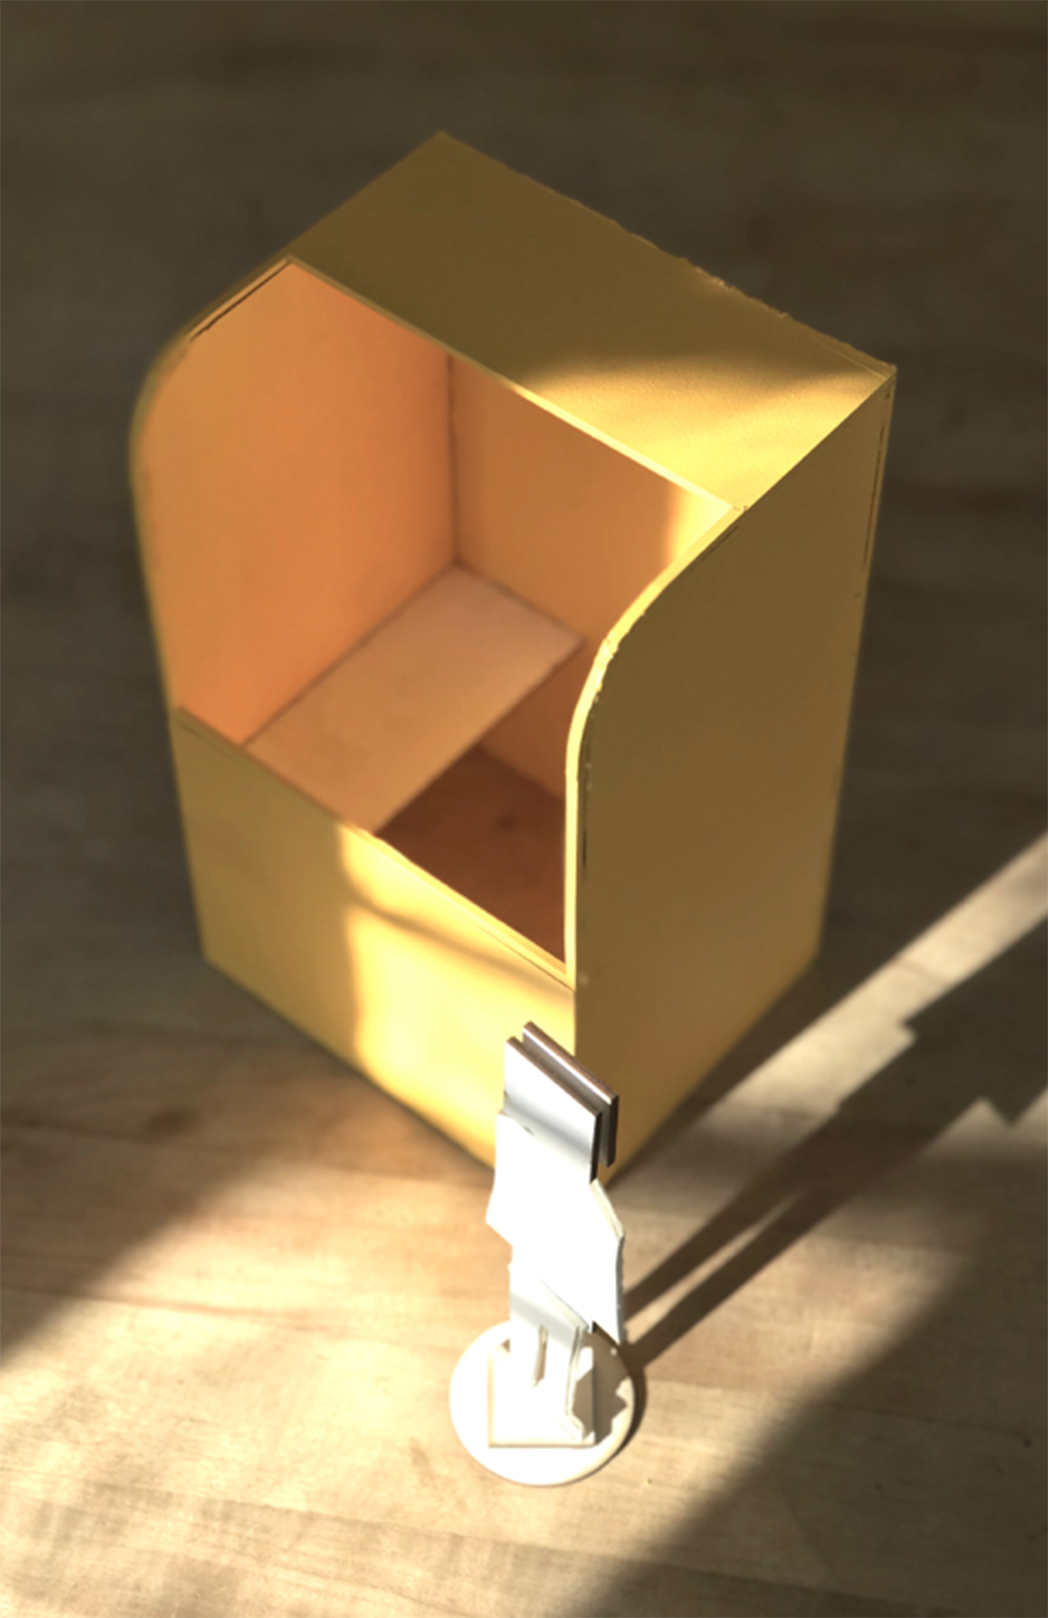
Another pass at 1:12 paper models. Thicker paper let me test desks.
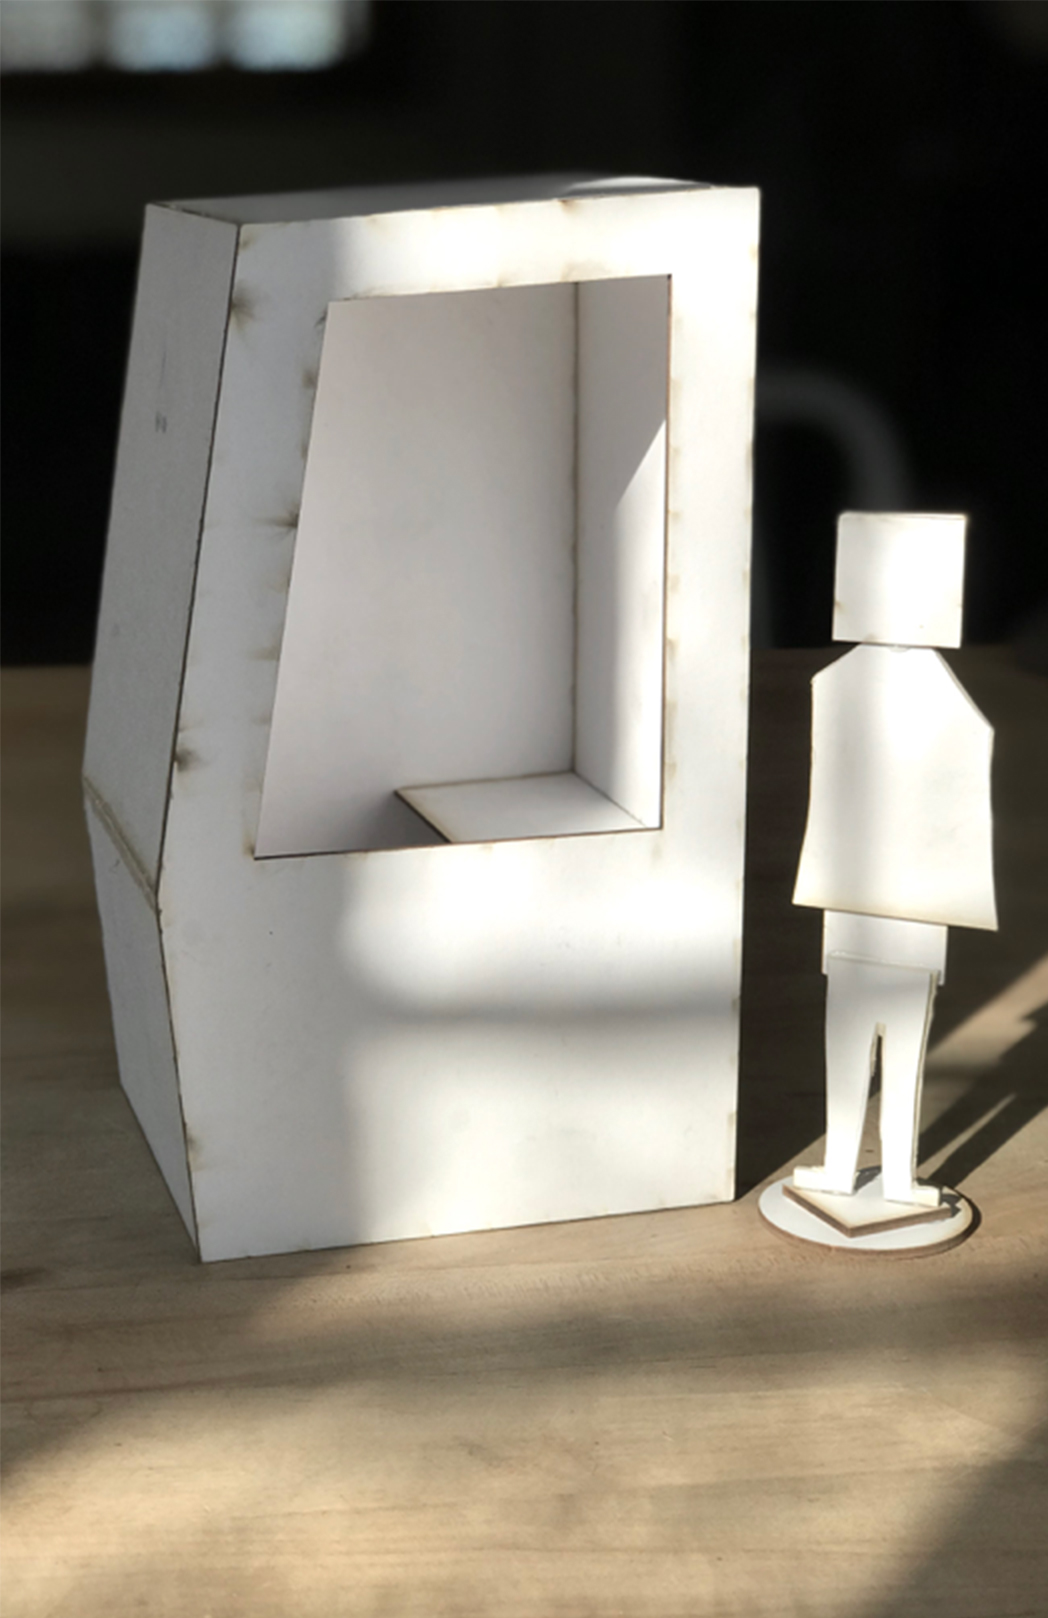
Human shapes give scale to these 7-inch models.
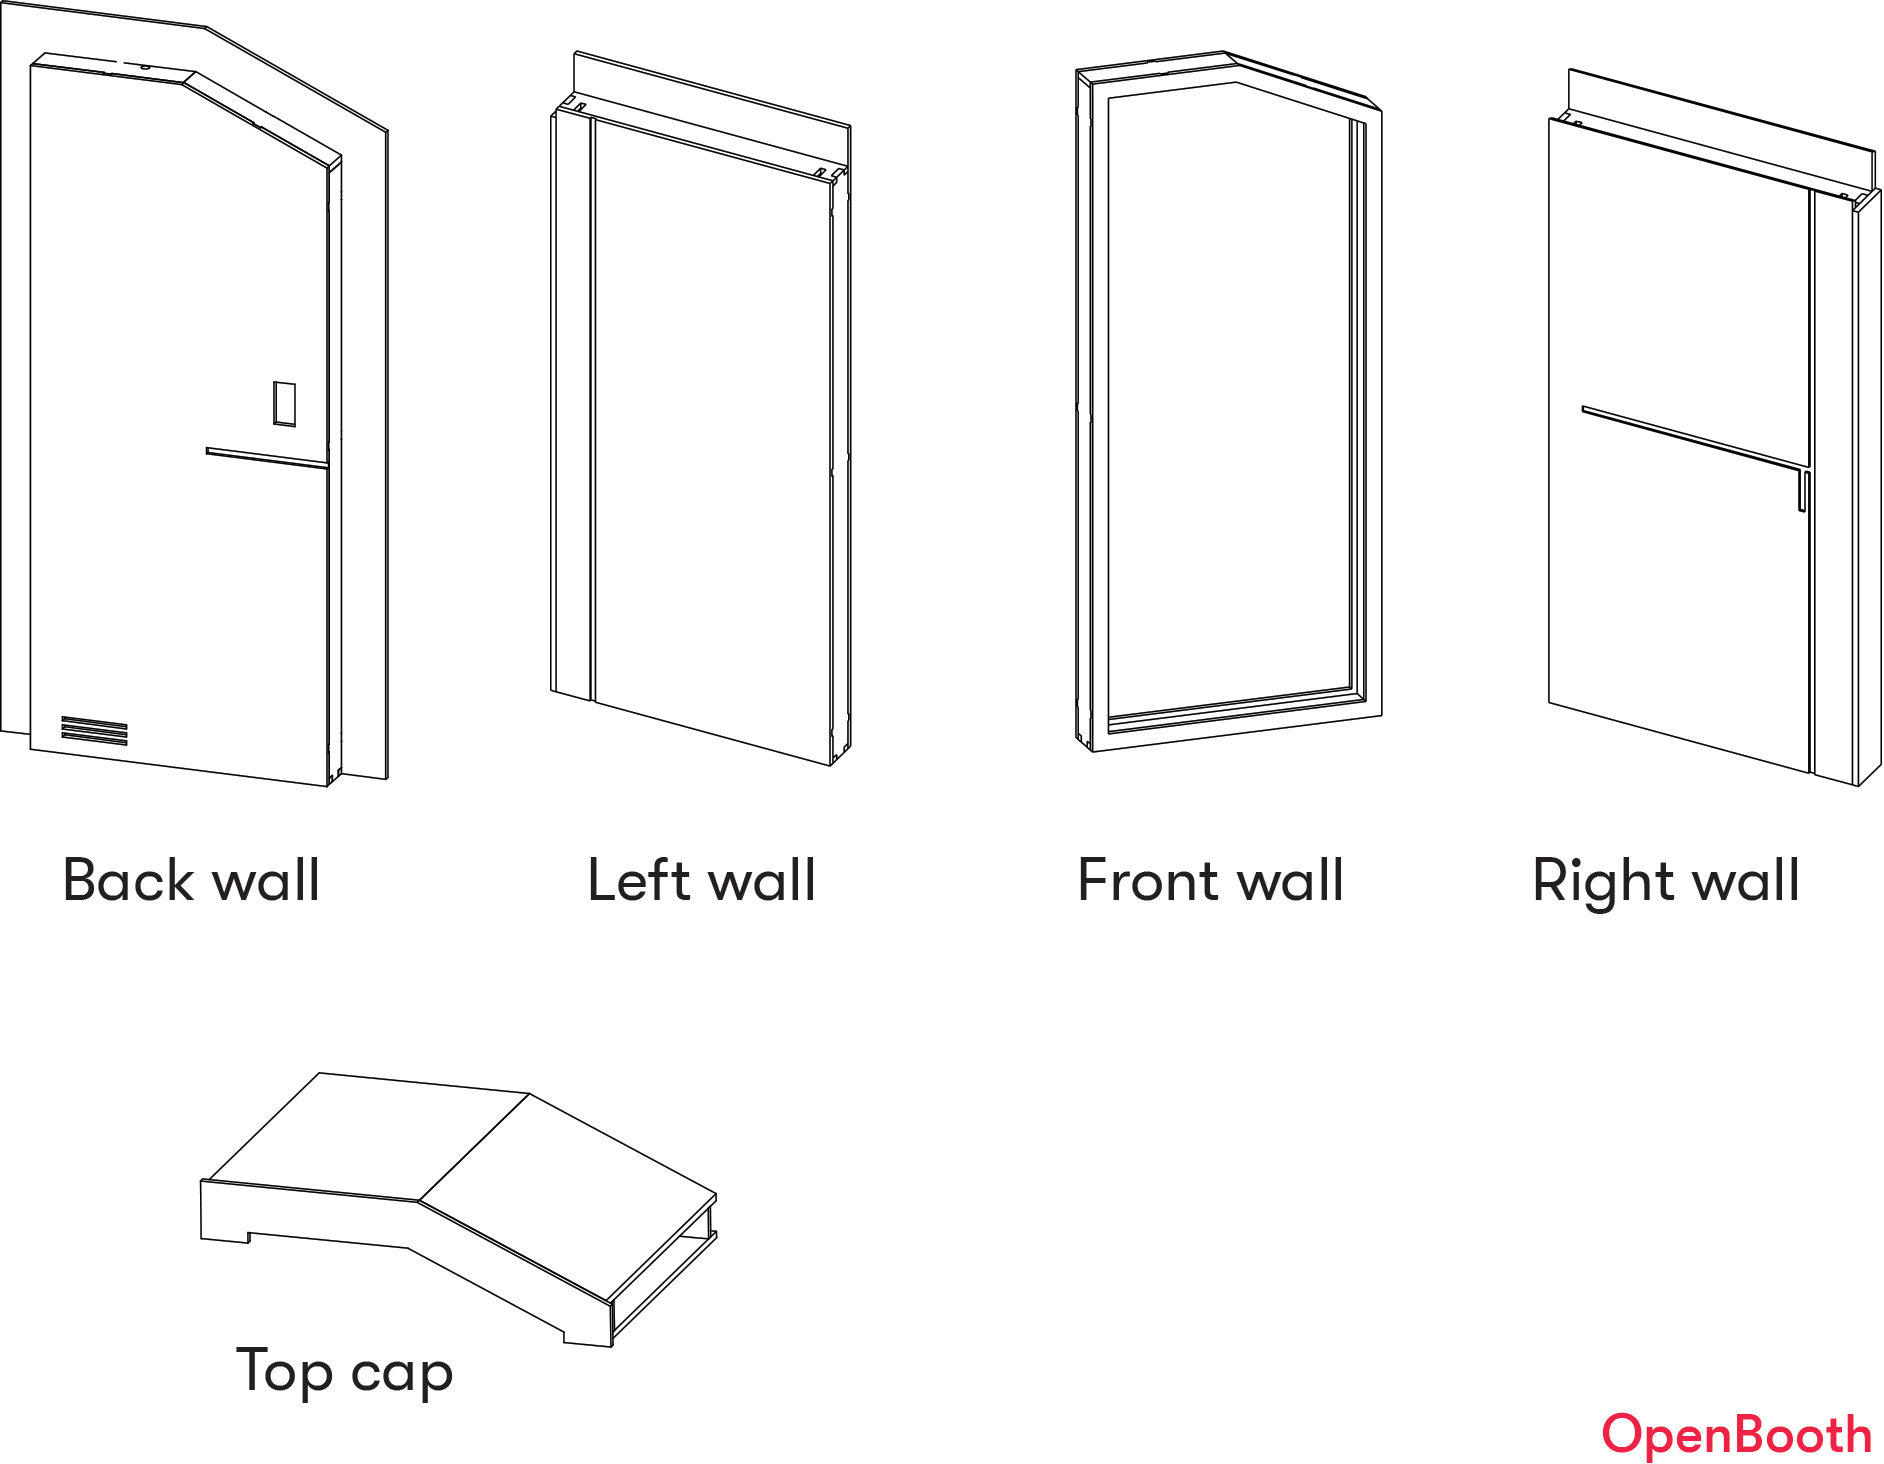
Schematic drawings of potential booth subassemblies.
Step Five — Prototype and Hand Off
Output: scale prototypes and construction documentation.
The goal in wrapping up is to create artifacts that will standardize future builds — construction documentation, machining notes, material specs — and the visual assets that will support marketing.
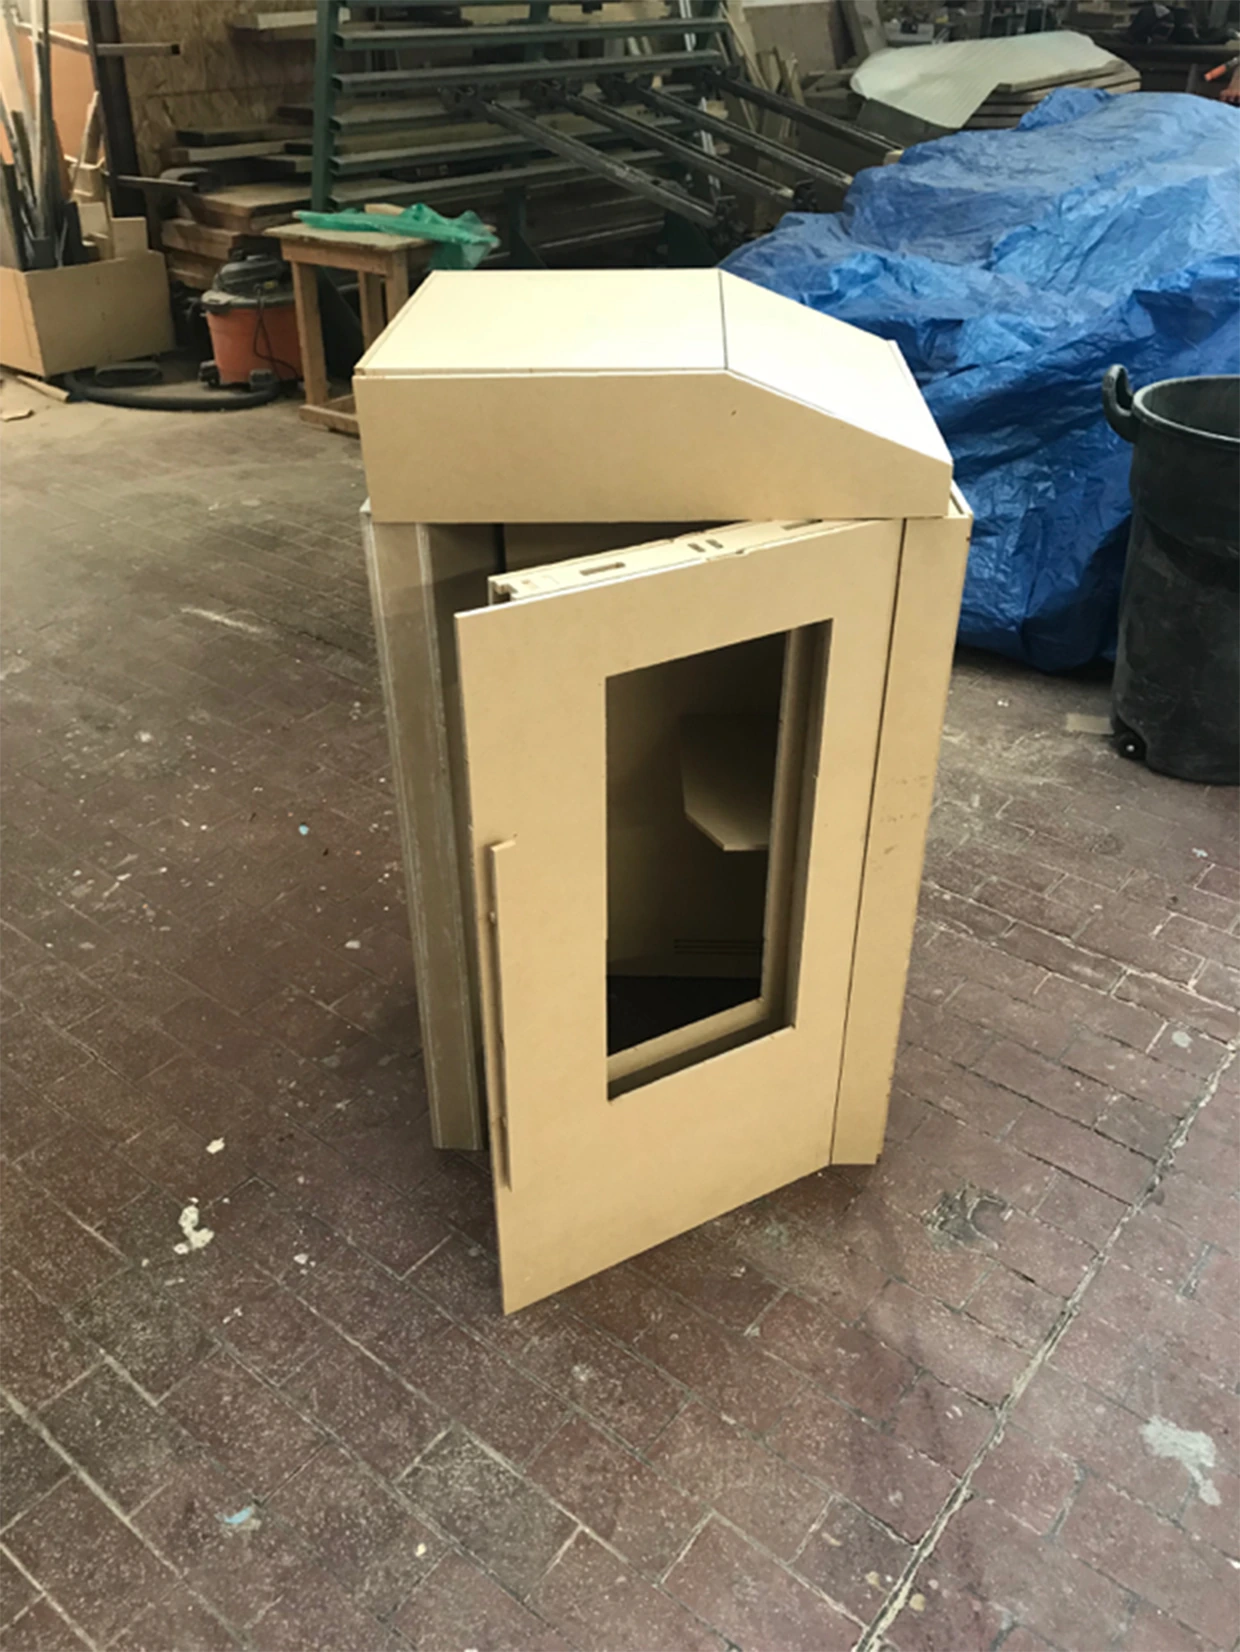
Building a 1:2 model revealed I had way too many unique pieces.
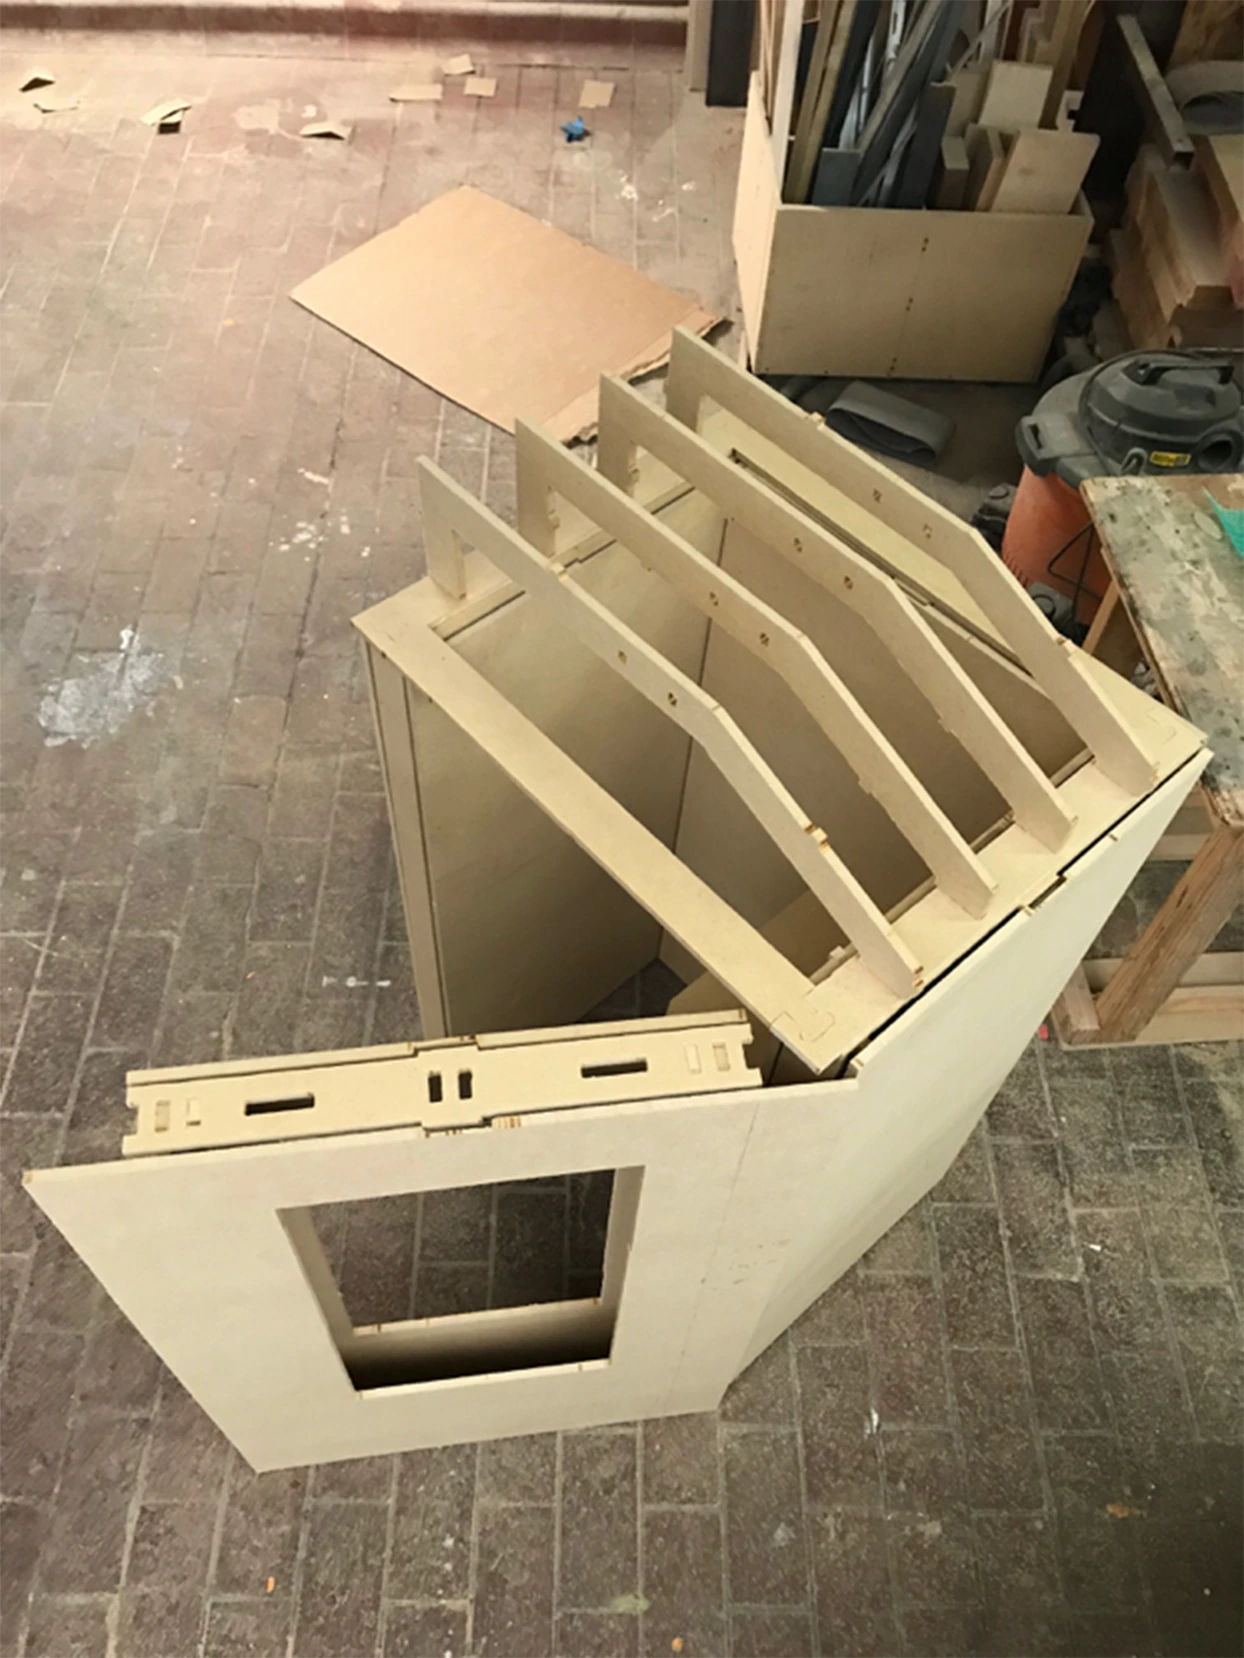
Three 1:2 models — each one a little under four feet tall.
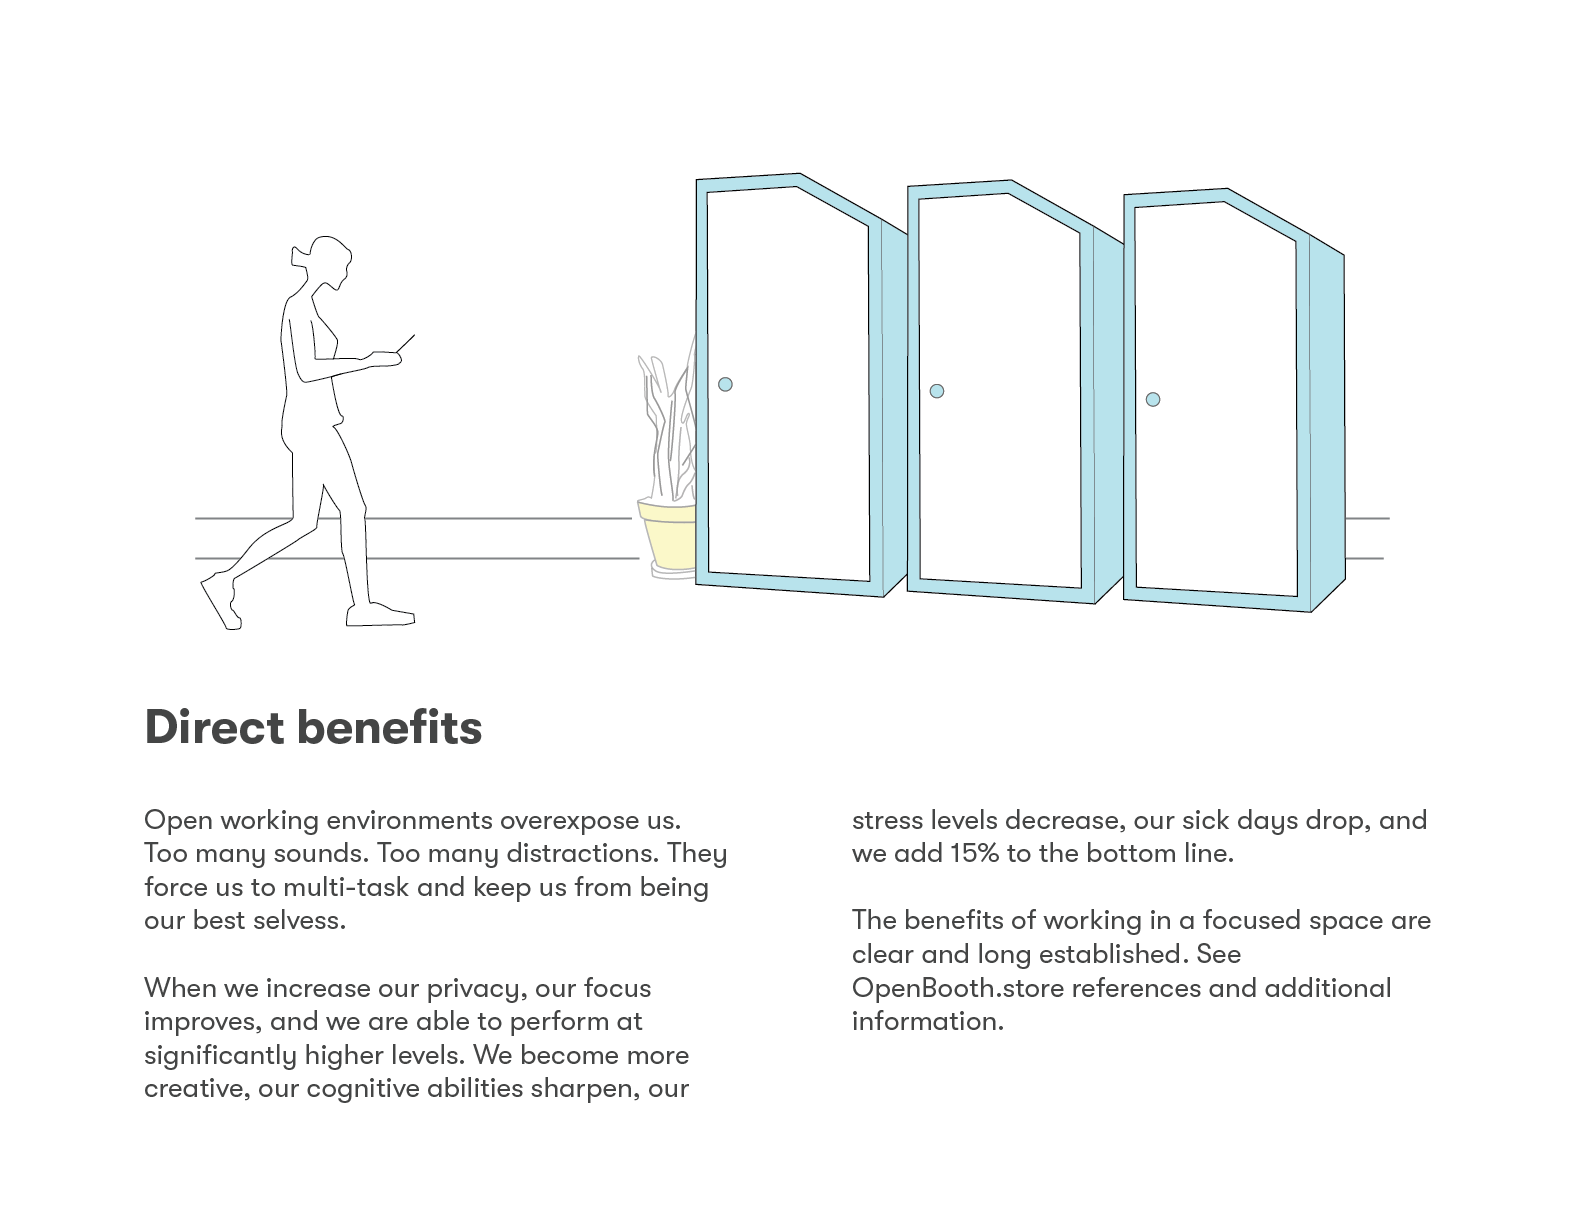
A page from the OpenBooth marketing booklet.
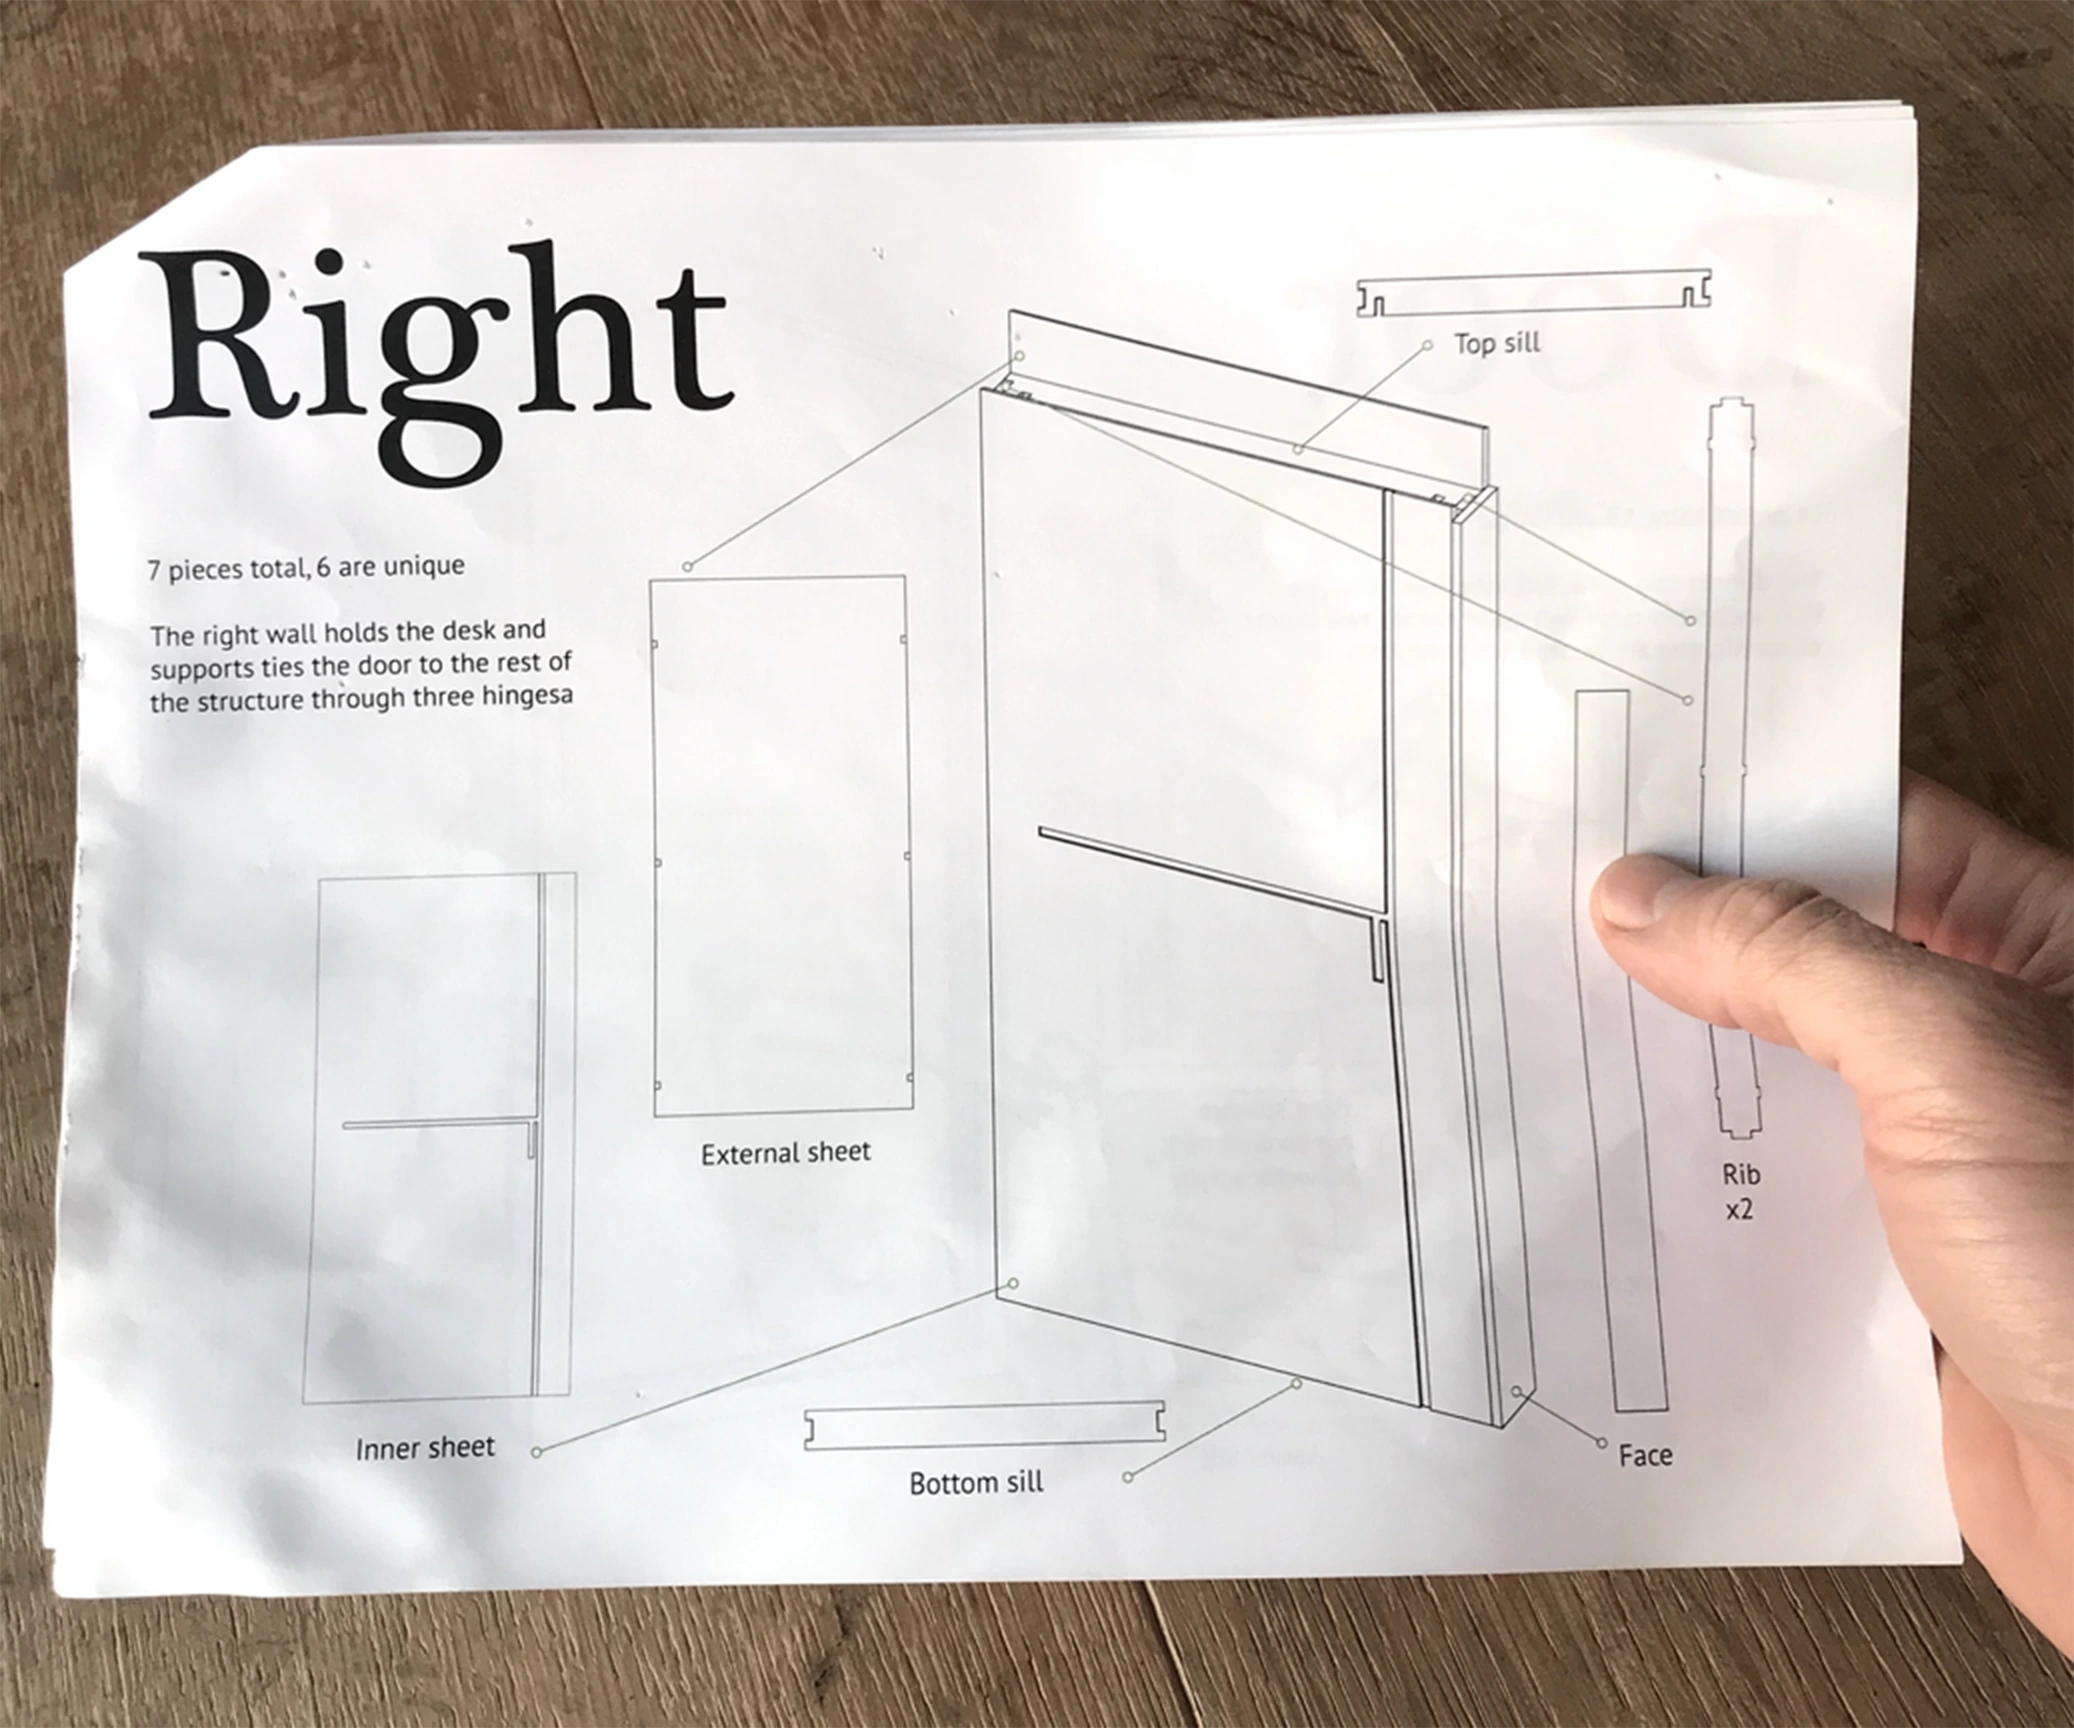
The construction documentation visually describes how to assemble a booth.
Shipping
The design process wraps; production starts. The scale models become the reference for the first full-size builds.
Hardware is hard. The first run reveals all the places your CAD model lied to you — tolerances, sequencing, the unique-piece count. Each subsequent build finds another efficiency.
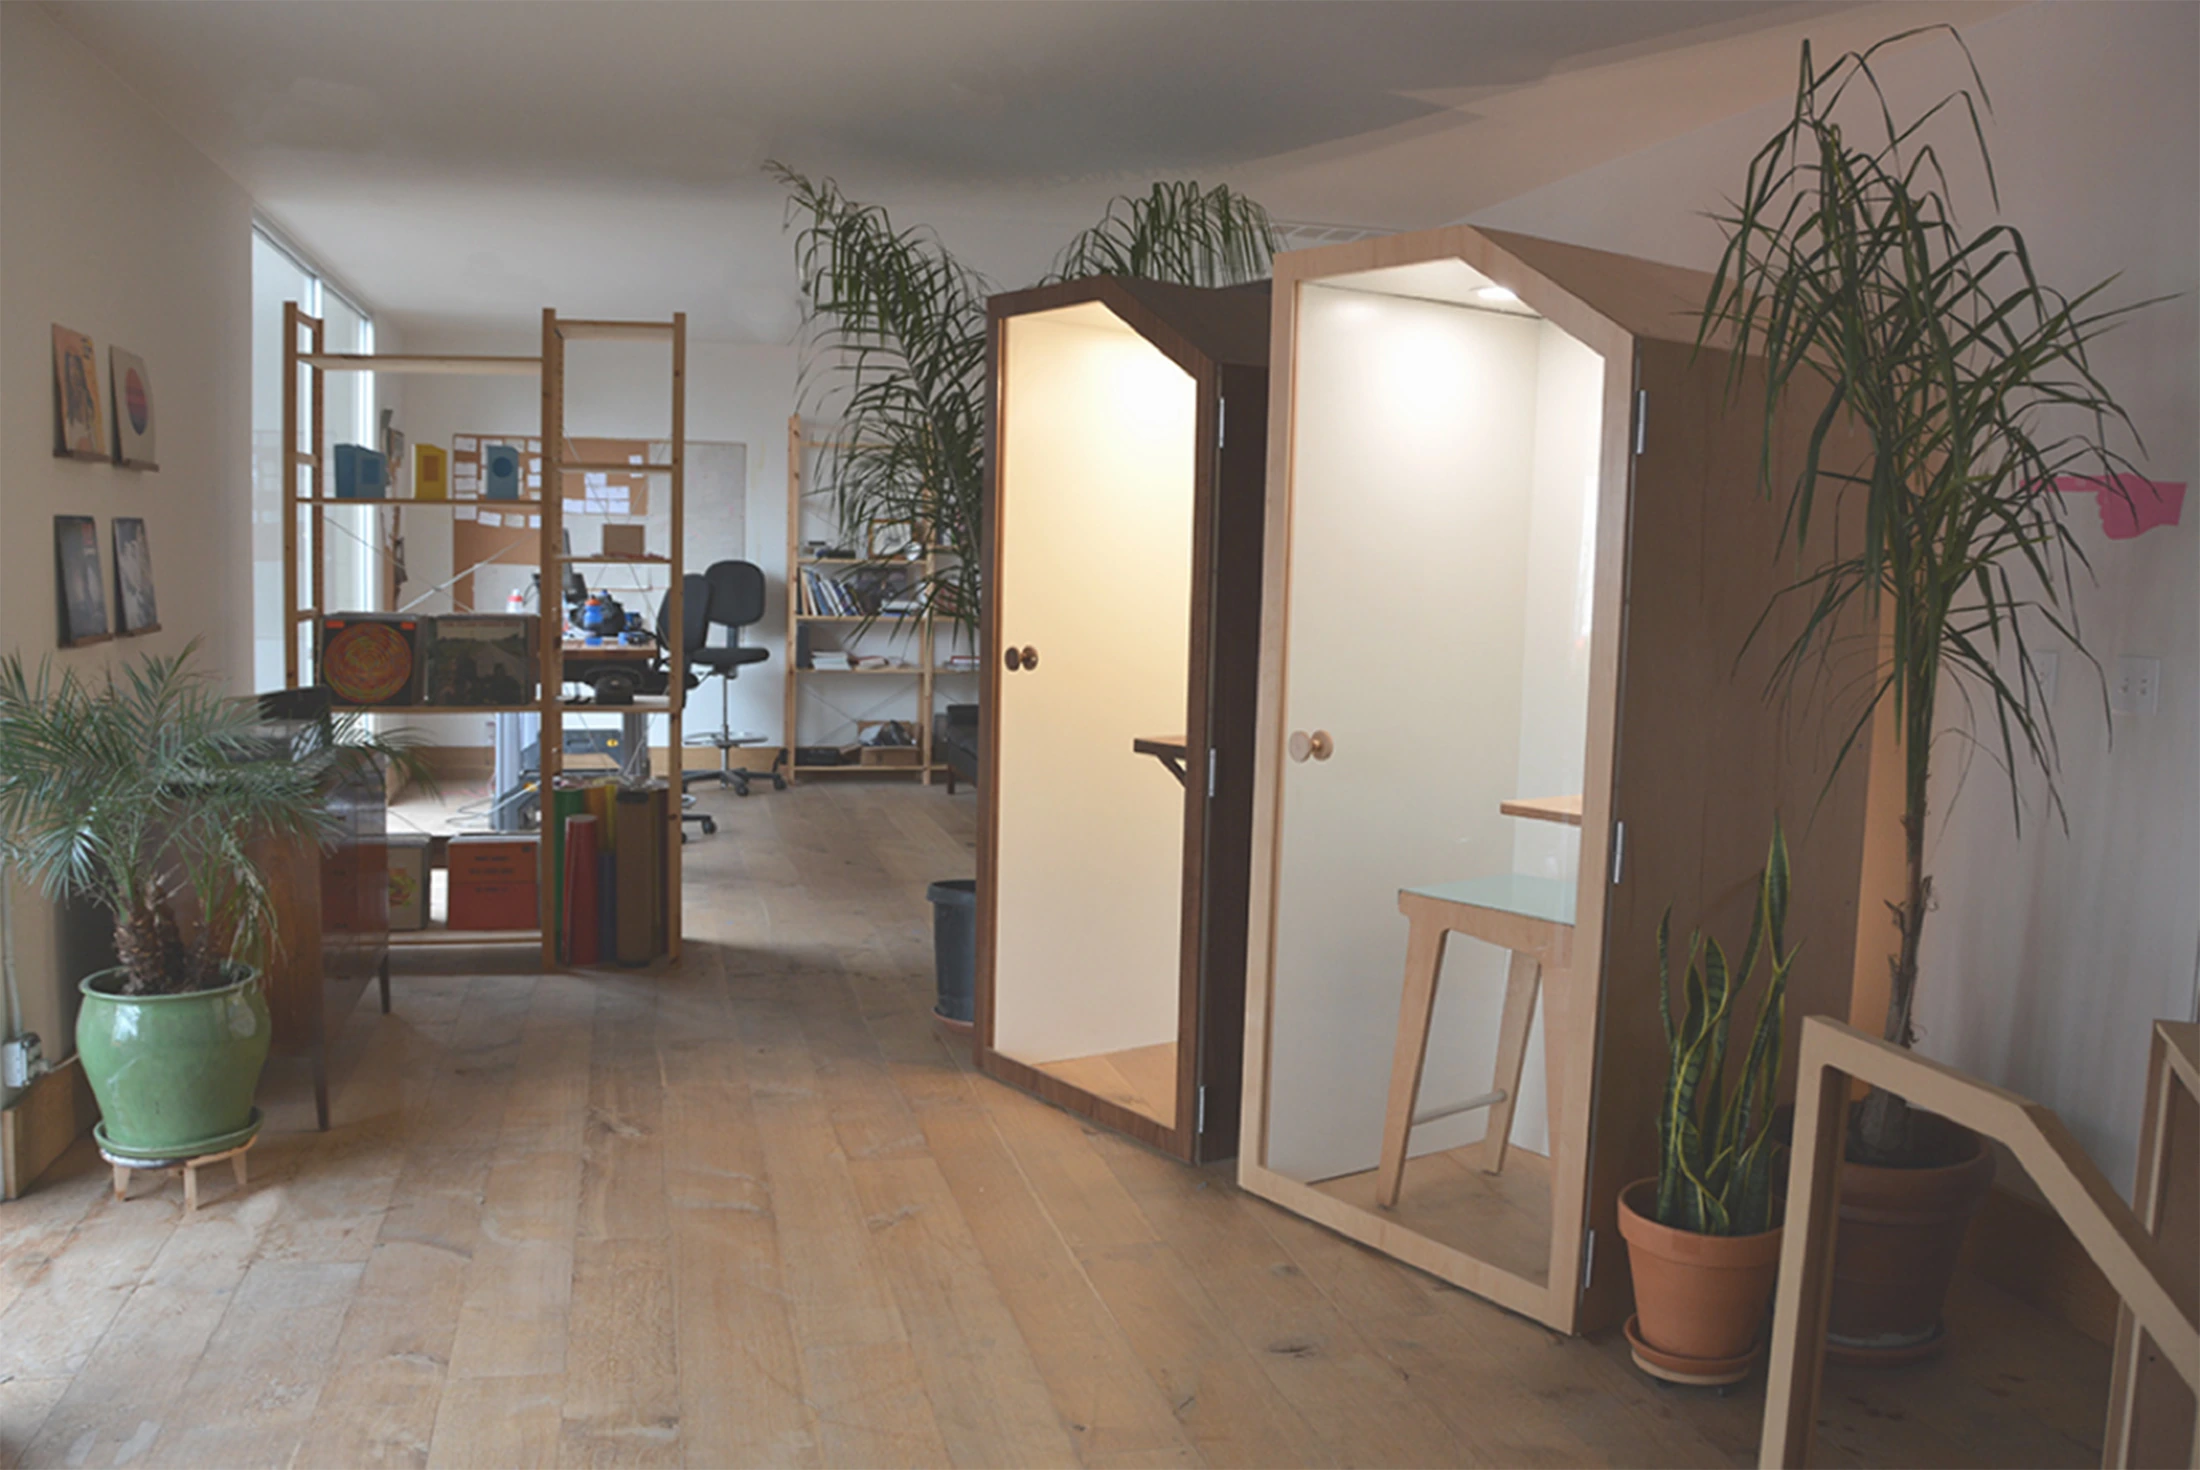
Demo booths, ready to provide privacy and focus.
Role and Team
I played the roles of Product Designer and Industrial Designer on this project. It’s been a largely independent effort, and I know every OpenBooth detail intimately.
A tremendous thank you to Nic Schumann and Greg Nemes of Work-Shop — they taught me how to design and fabricate large furniture objects. Another big thank you to Scott Bennett at Housefish for the graceful mentorship. And thank you to the Harvard Law School Library for getting me started and funding the initial effort.
CAD models in SolidWorks; CAM toolpaths in Autodesk HSMWorks; booths fabricated on a 3-axis CNC router controlled by LinuxCNC. Documentation in Illustrator and Photoshop.
Role. Product Designer. Industrial Designer.